
Intended primarily for motorcycles and small-capacity four-cylinder 12V engines. Larger engines may sometimes start where the battery retains some charge, but this is outside the primary intended use and is not guaranteed.
ONLINE USER MANUALPompie, explained
Pompie, explained
properly.
Verified operating instructions, controls, connections, safety information, accessories and troubleshooting — all in one place.
PRODUCT OVERVIEW
One bag. Four roadside functions.
Pompie combines a 12V jump starter, tyre inflator, emergency light and USB power bank in one compact roadside backup kit.
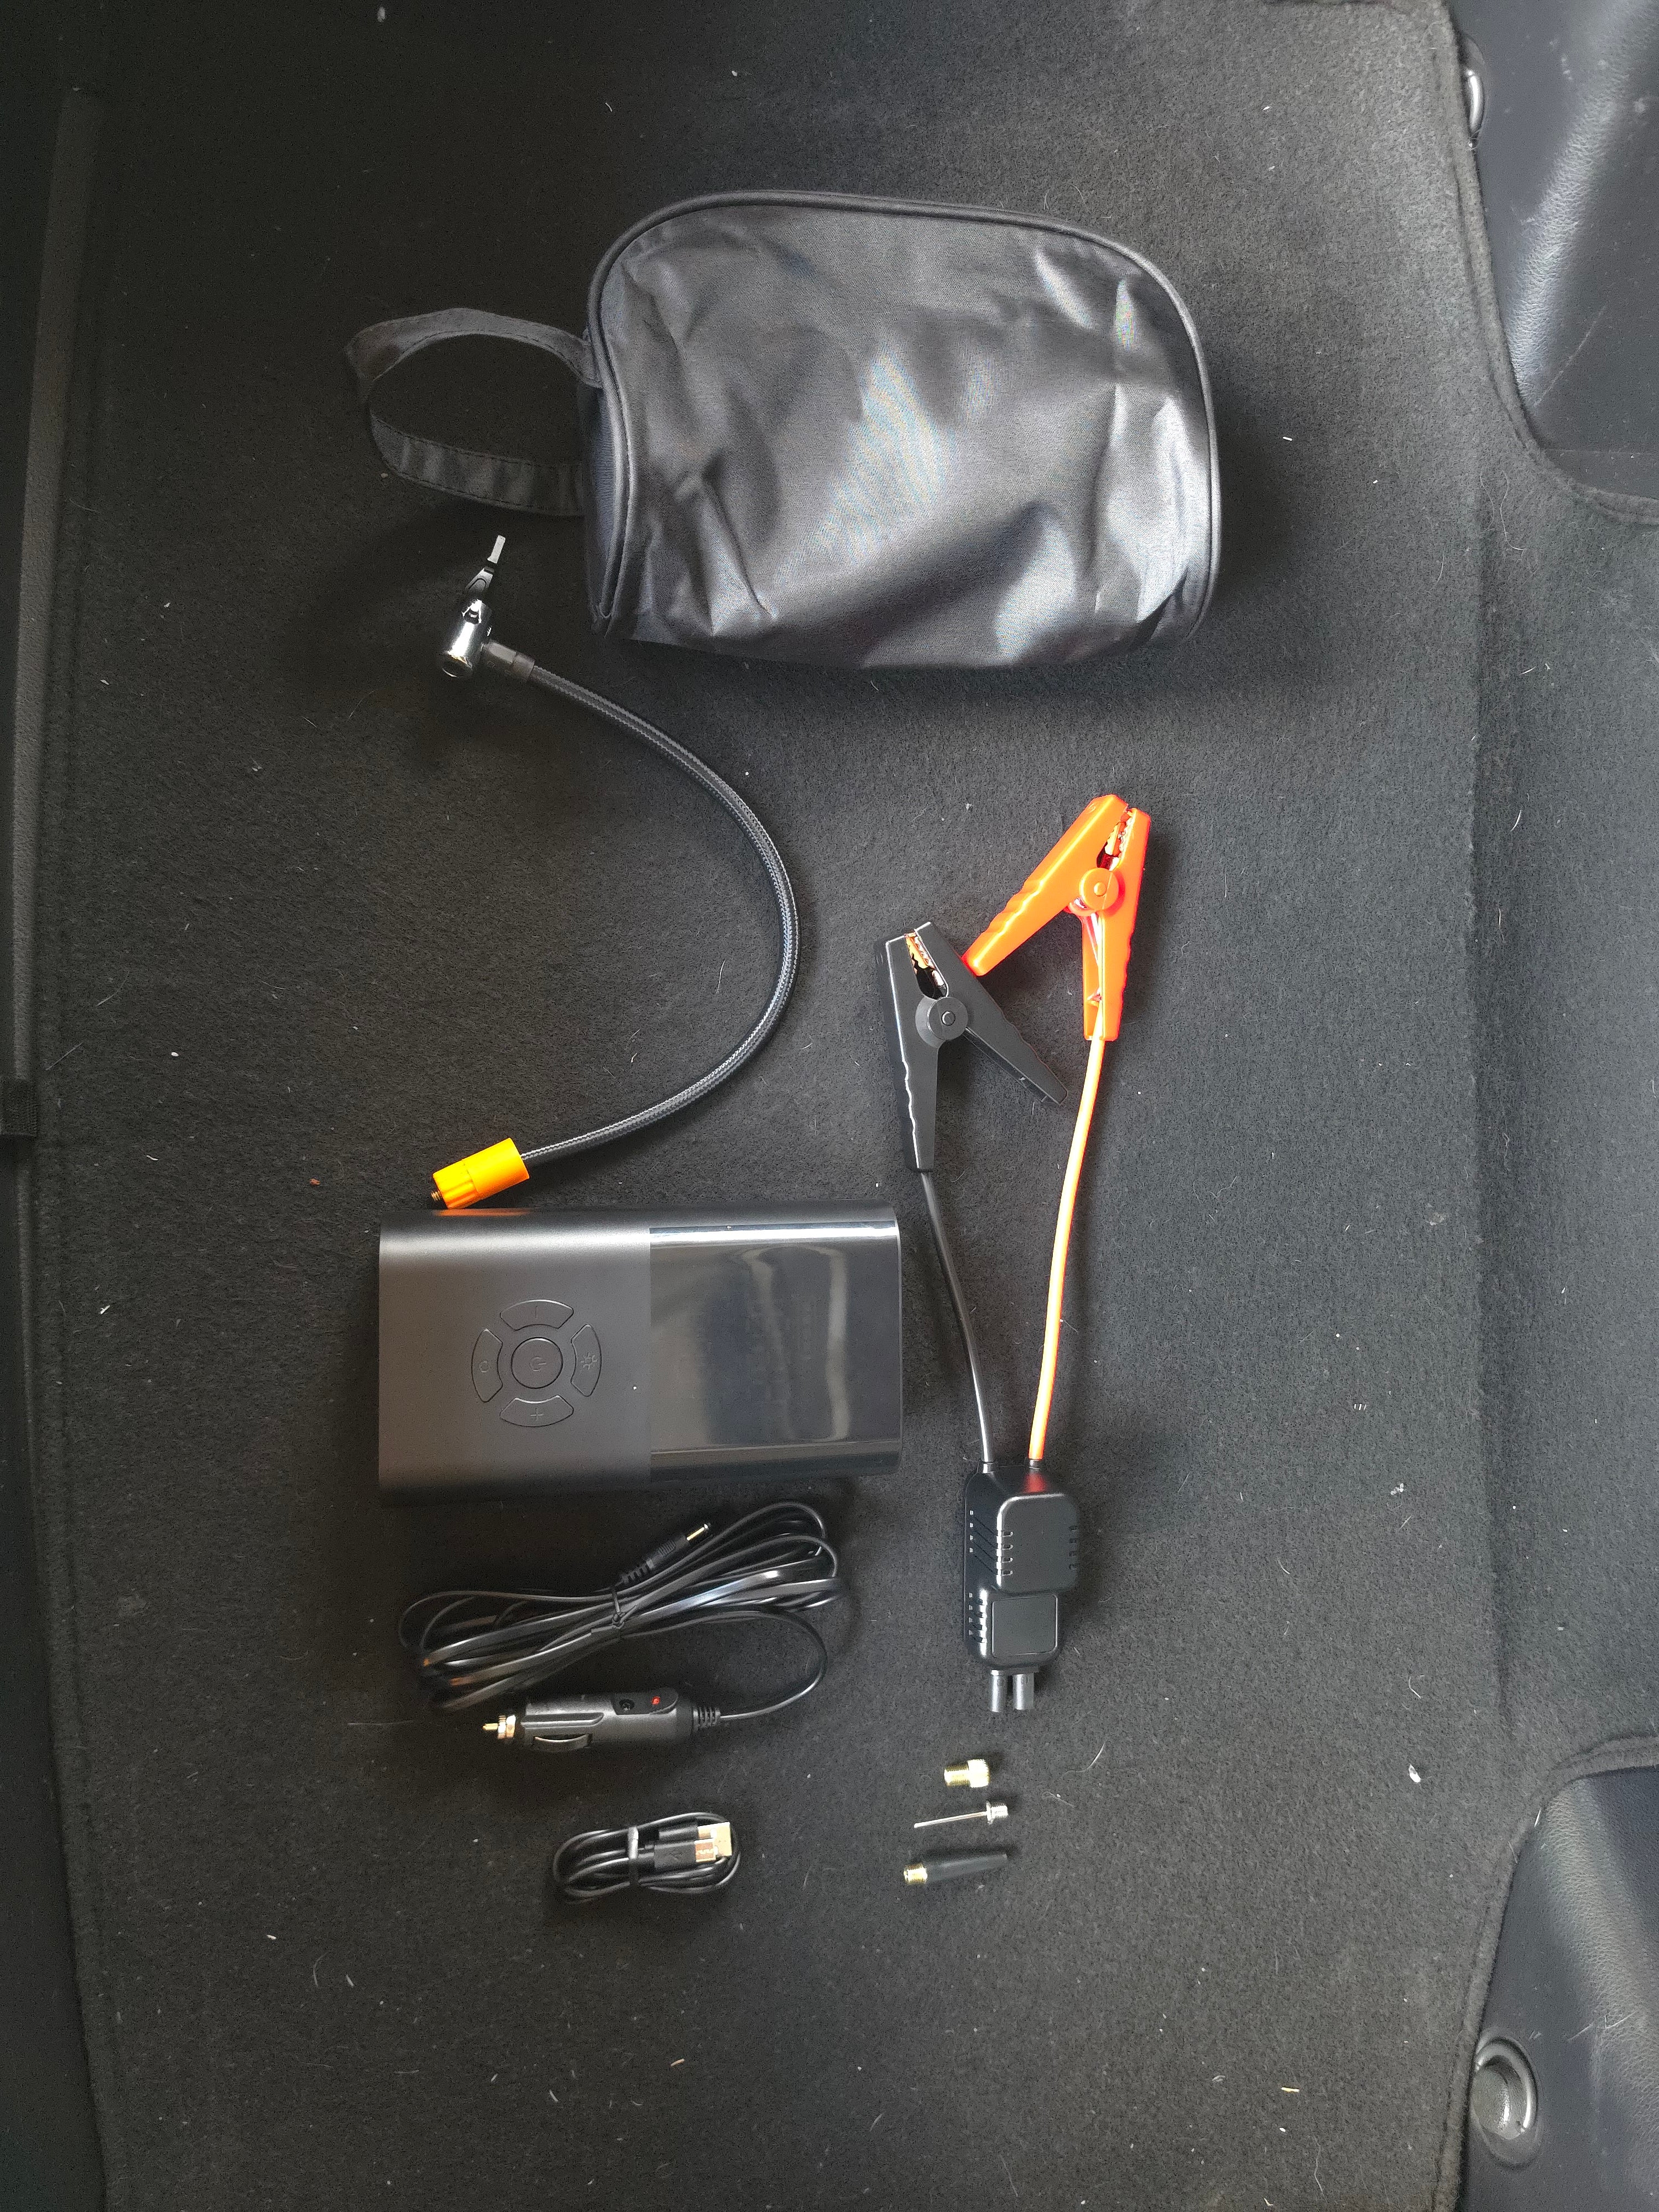
Tested to 4 bar without issue and built around a metal cylinder.
Steady, slow-flash and fast-flash modes.
Portable USB power for compatible phones and devices.
CONTROLS & CONNECTIONS
Know what every button and port does.
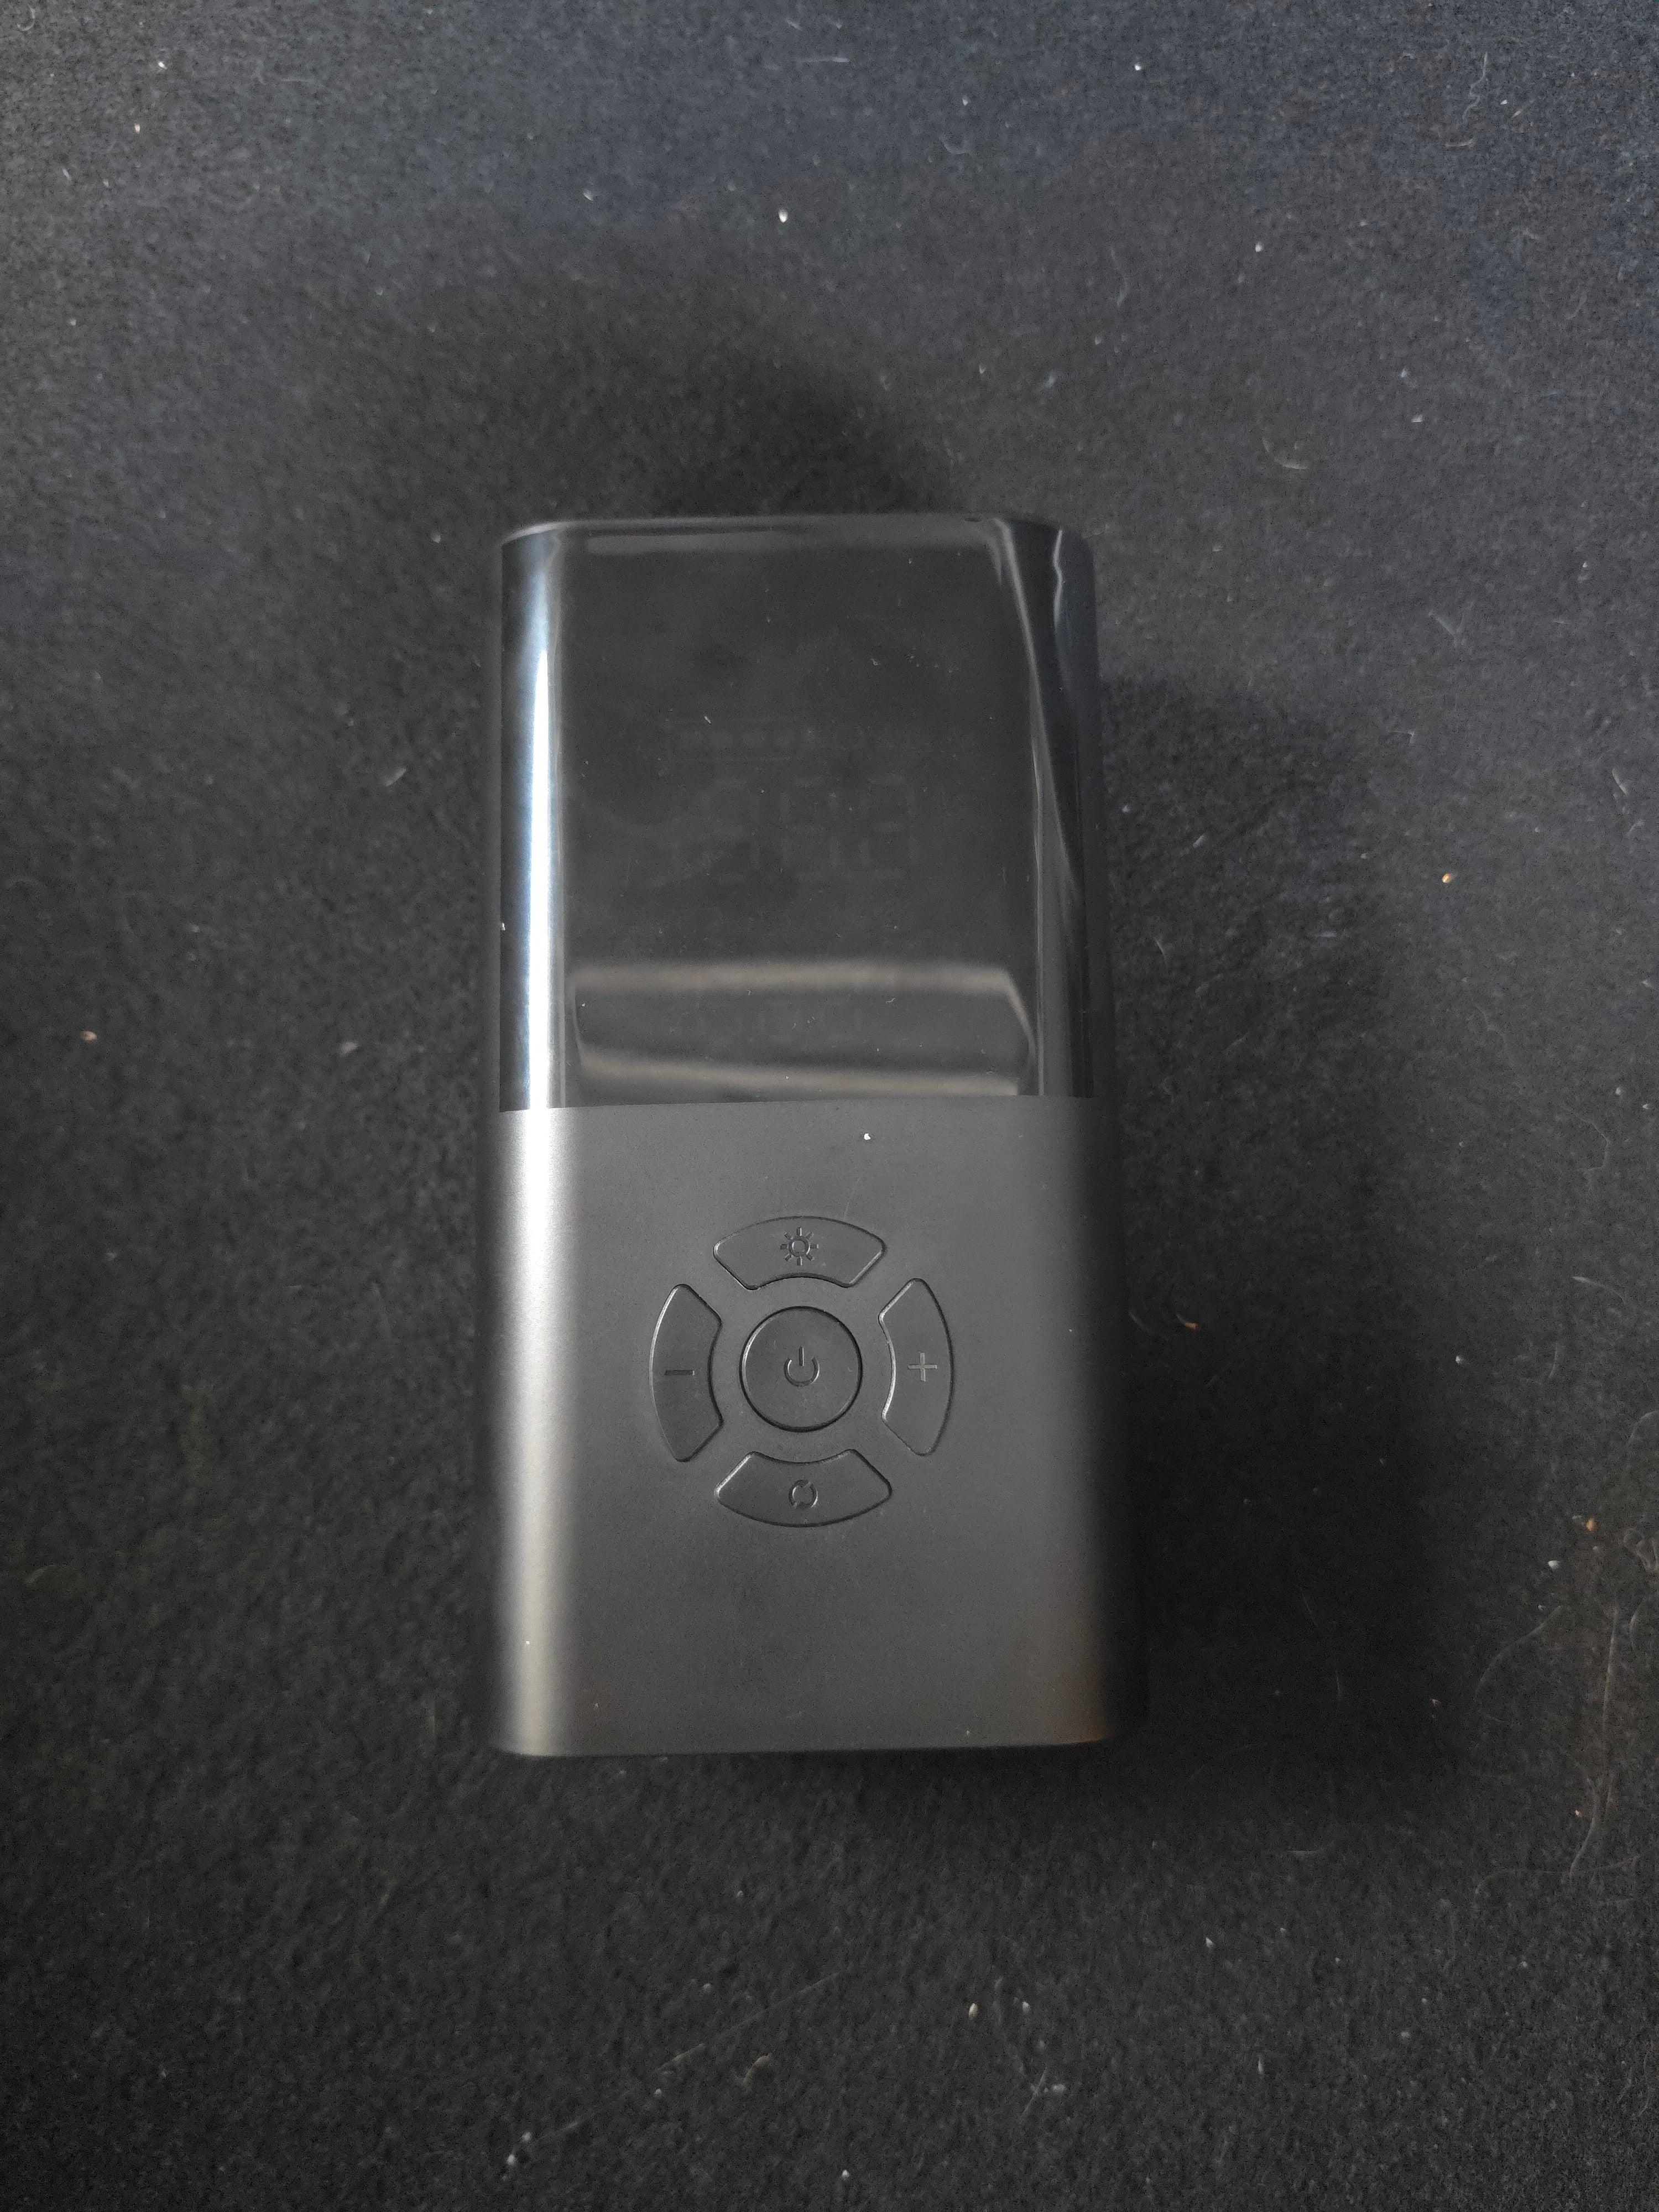
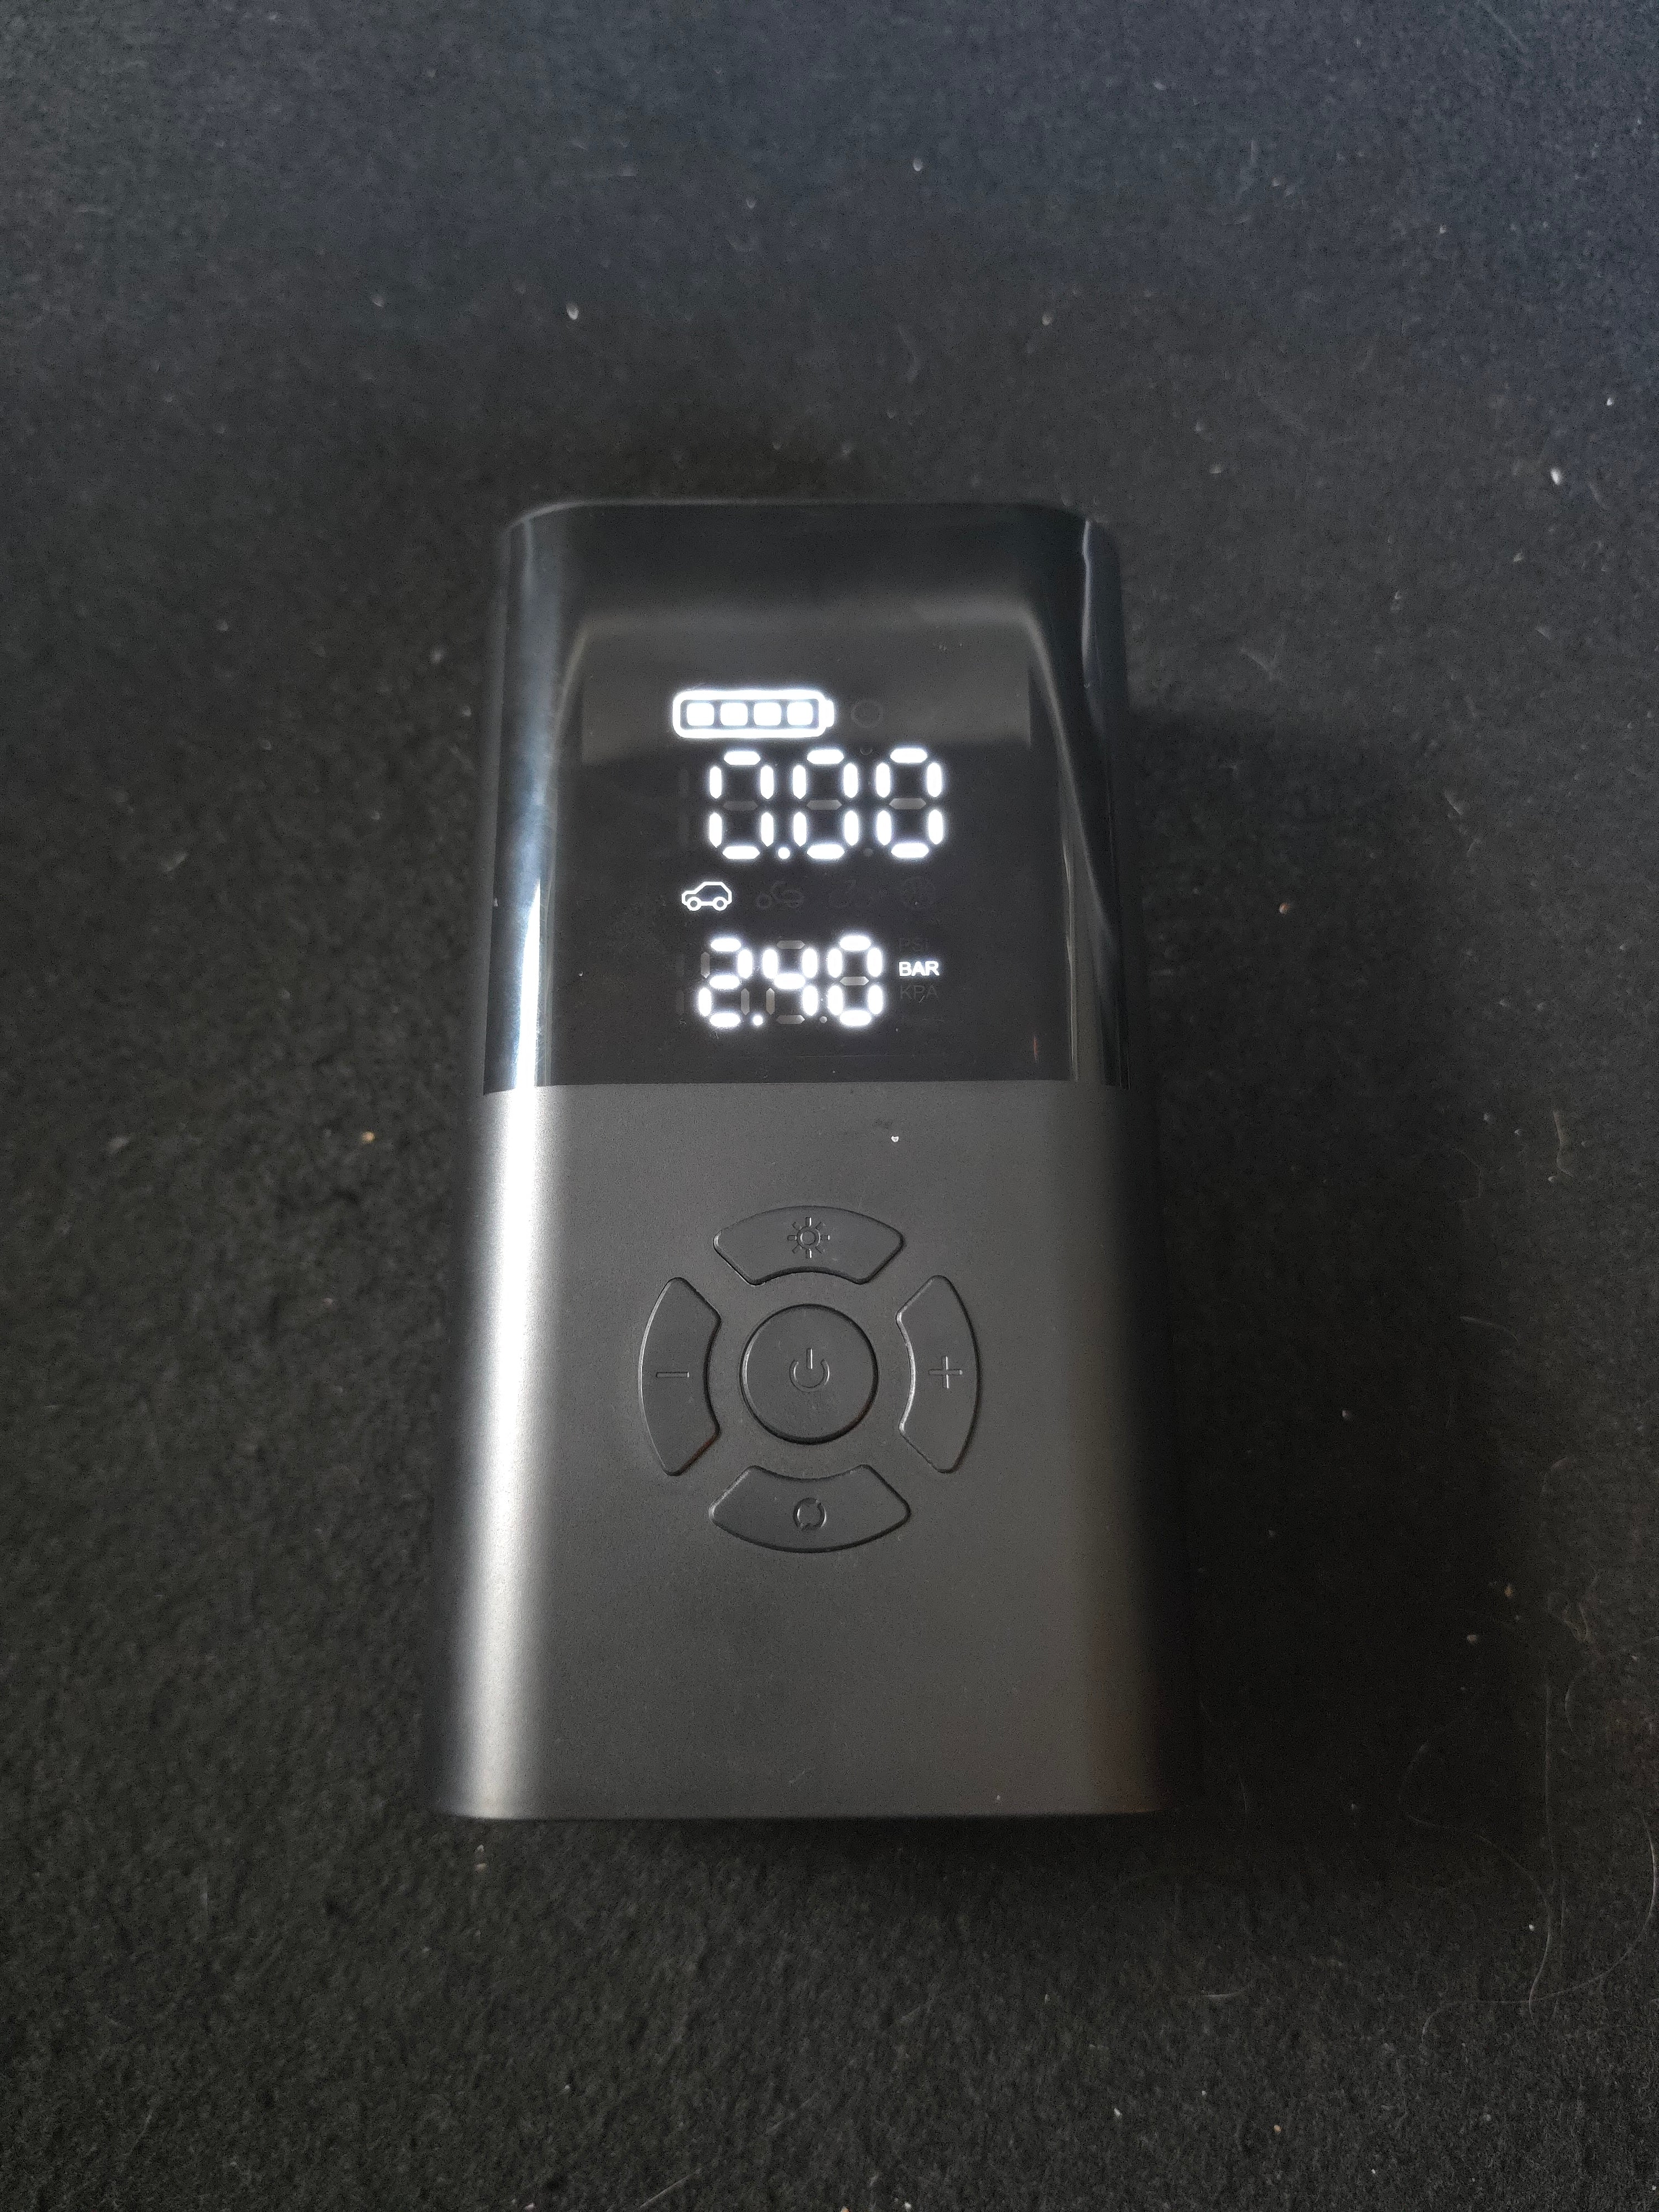

Long-press to switch Pompie on or off. During inflation, short-press once to start and again to stop manually. Pompie stops automatically when the selected target pressure is reached.
Short-press for a one-step pressure increase or decrease. Hold to move quickly to a much higher or lower target pressure.
Cycles through car, motorcycle, bicycle, ball/inflatables and open mode. In open mode an icon appears at the top of the display.
Short-press to cycle the pressure measurement unit.
The upper numeric reading shows the connected tyre’s current pressure. The lower reading shows the selected target pressure and its pressure unit.
The battery icon fills while Pompie is charging and shows a solid full battery when charging is complete.
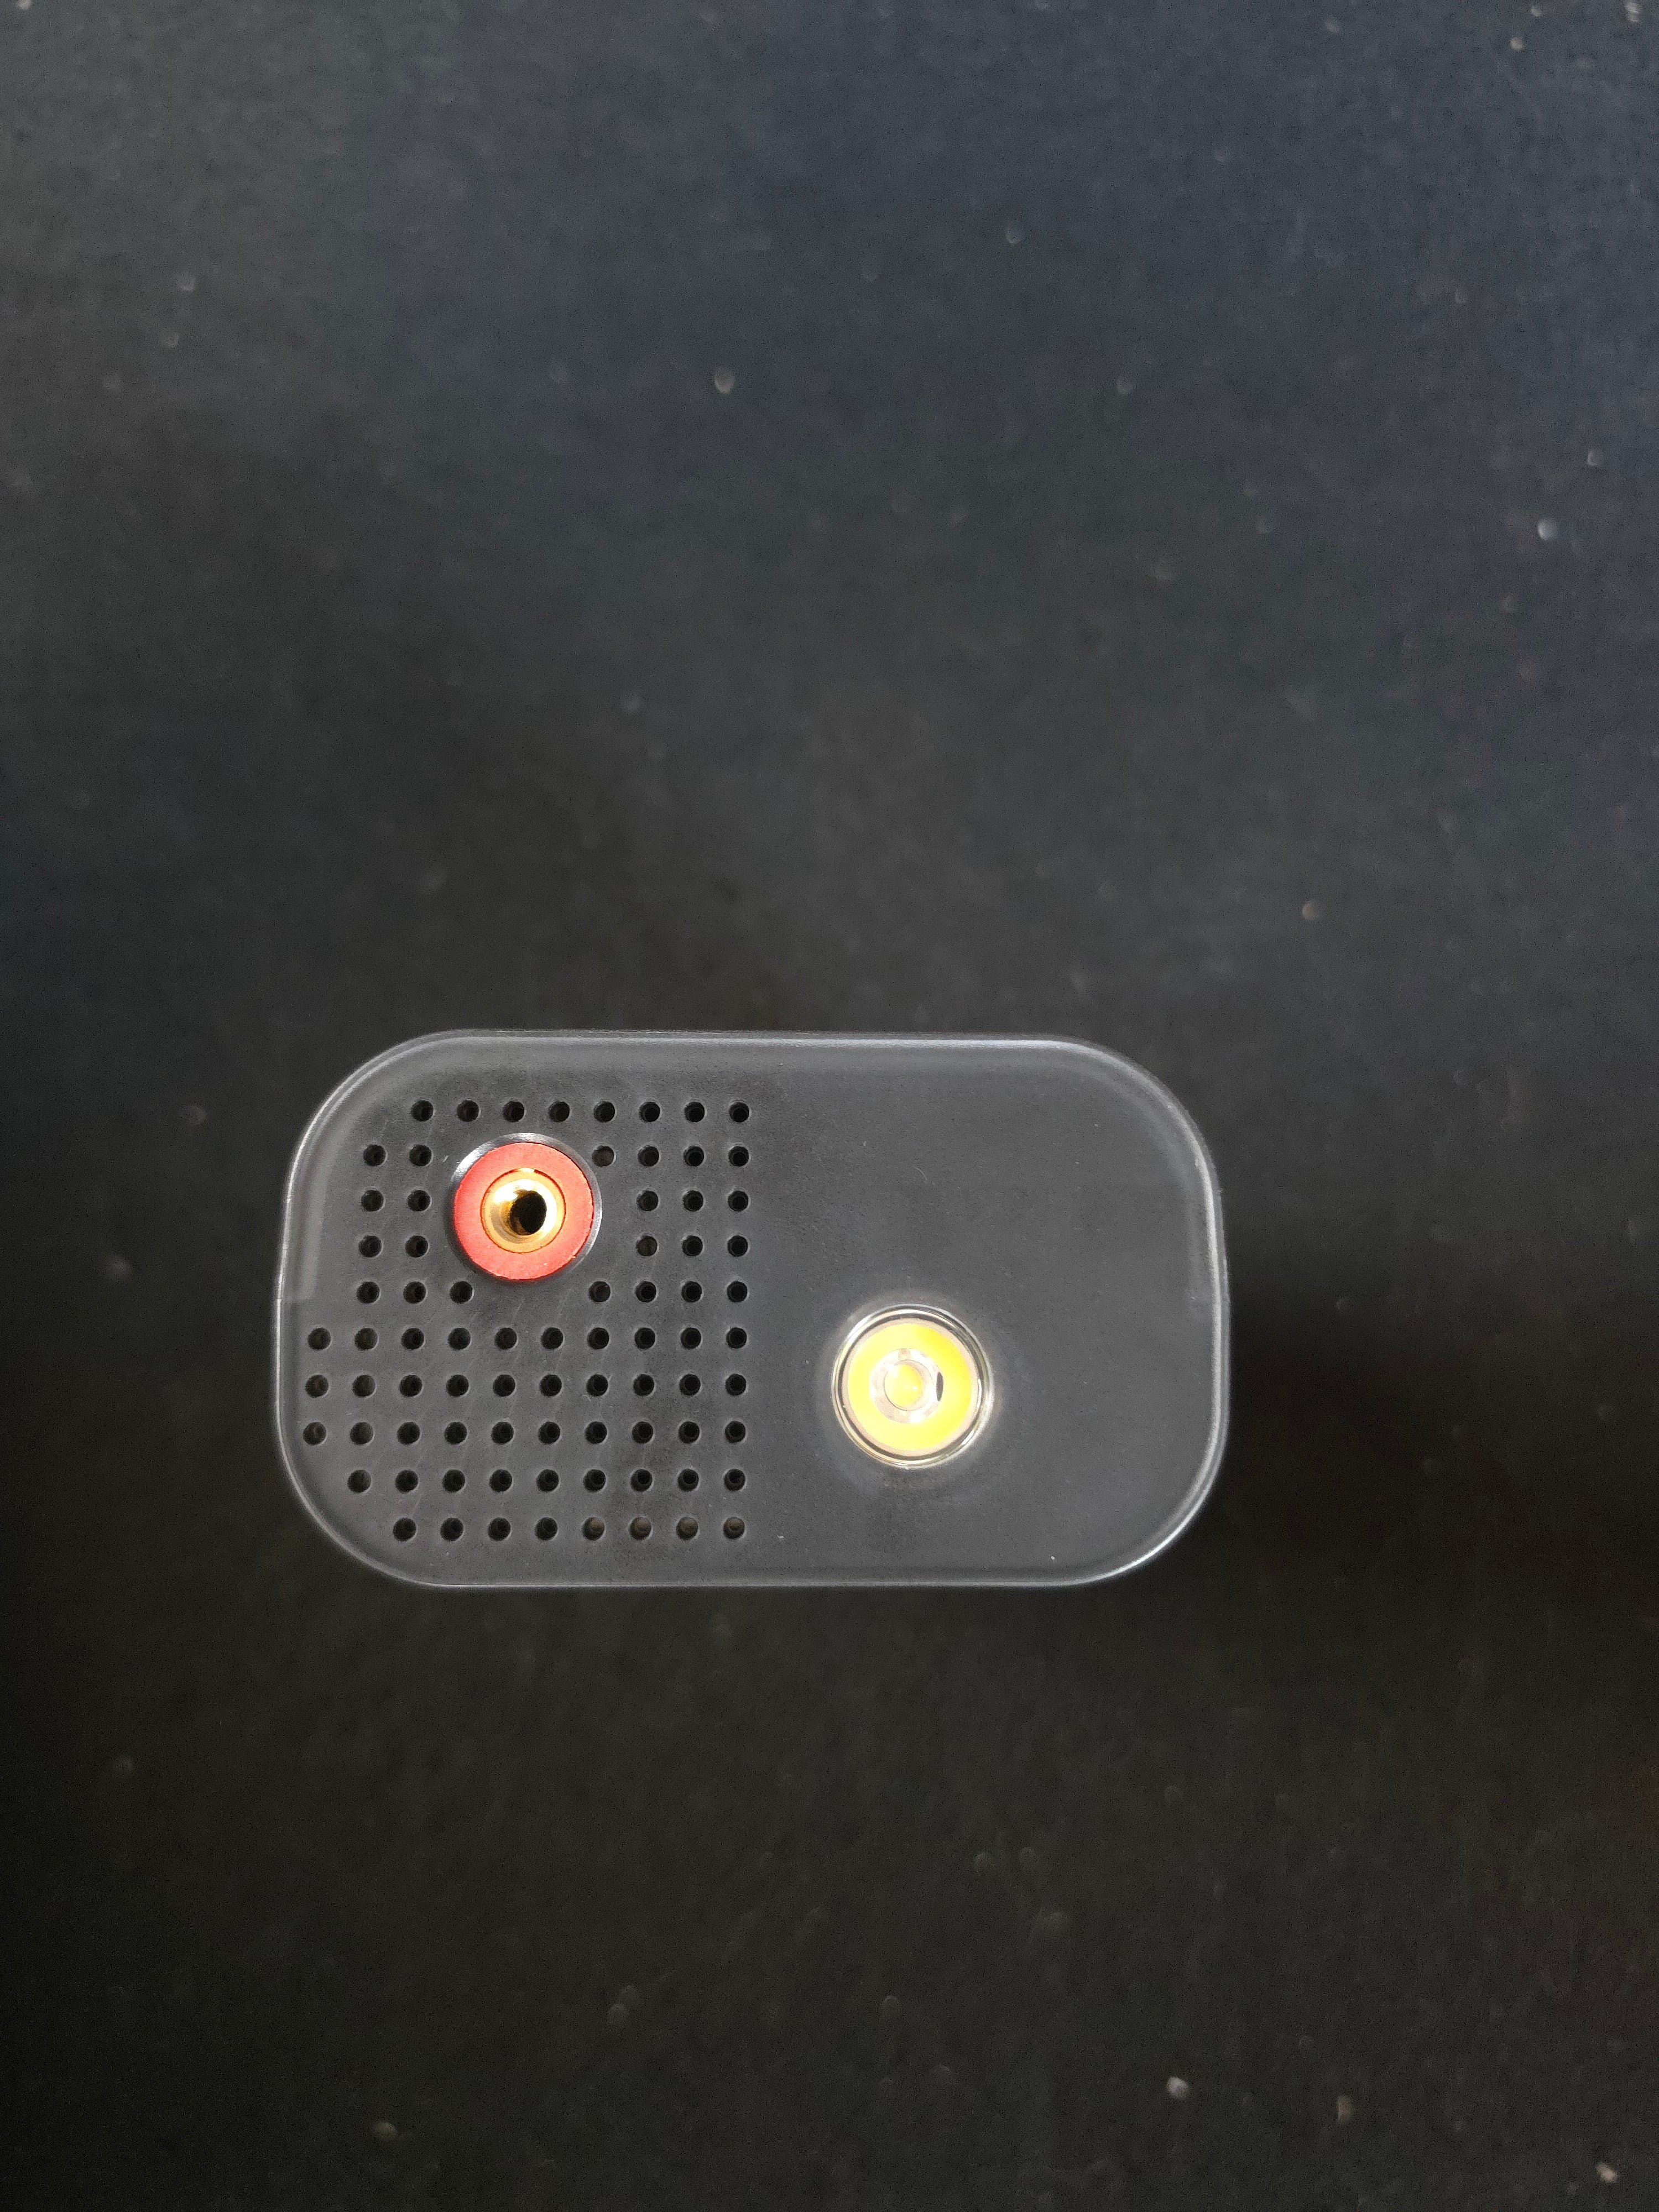
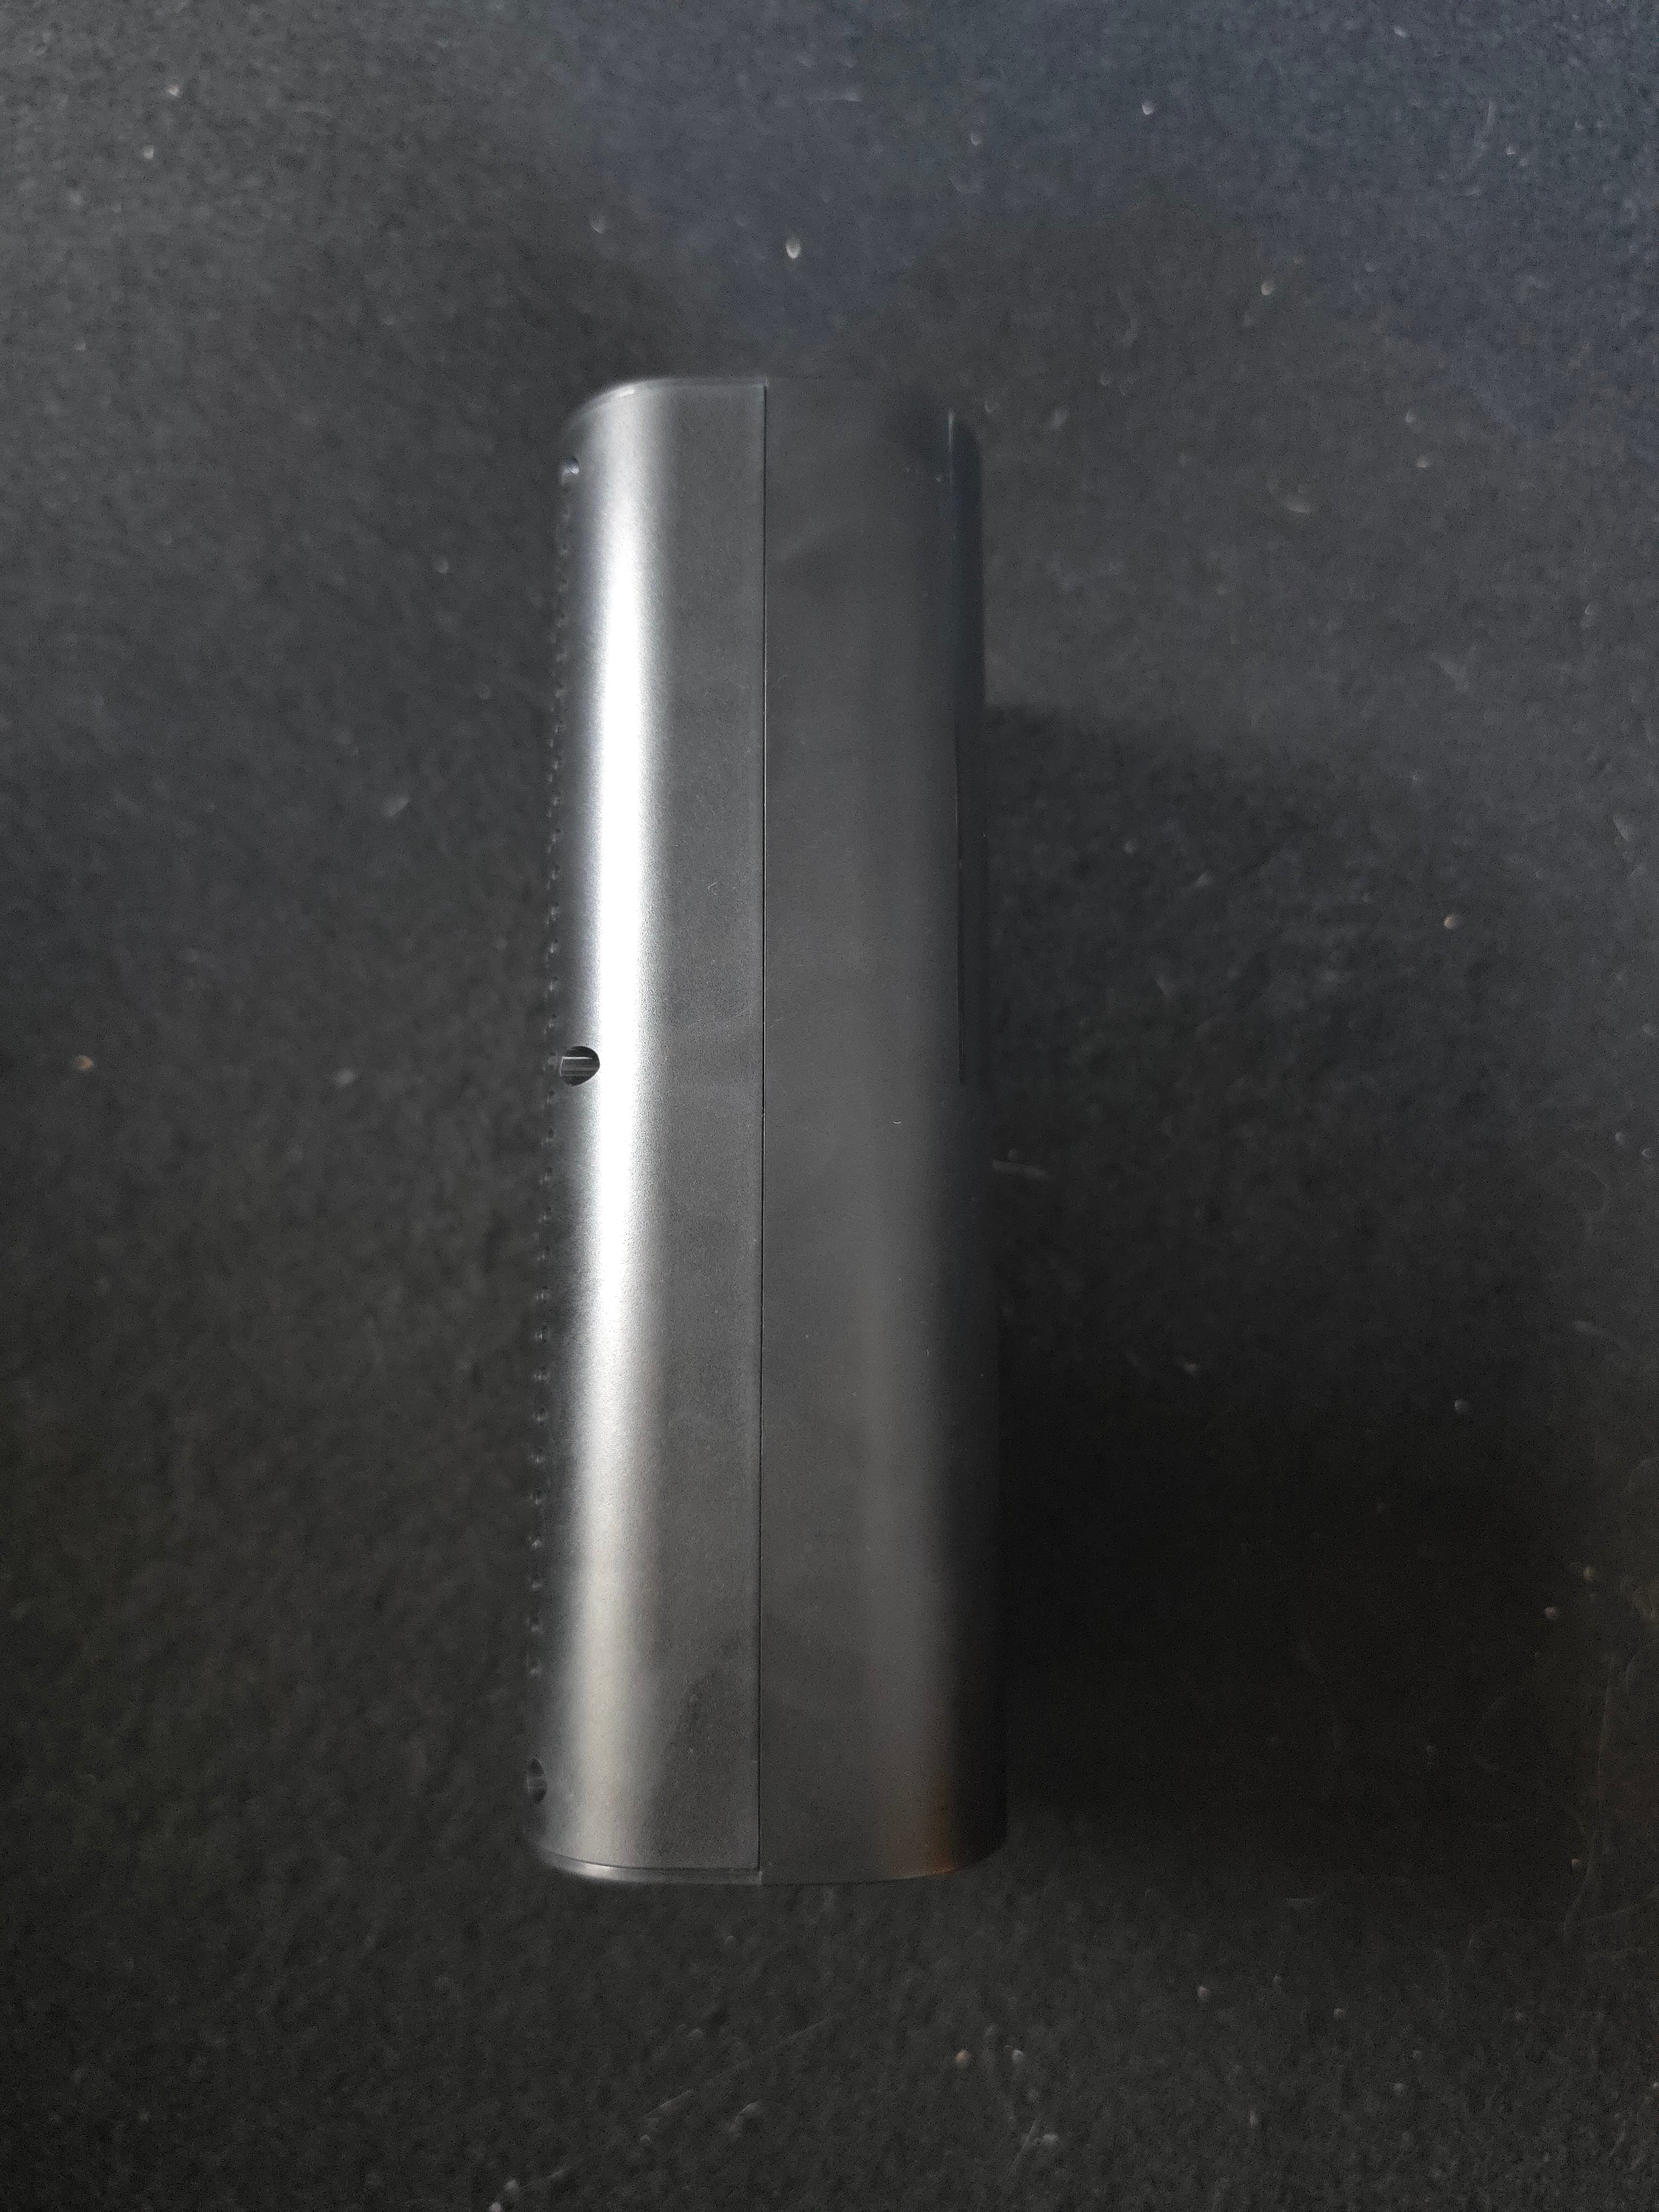
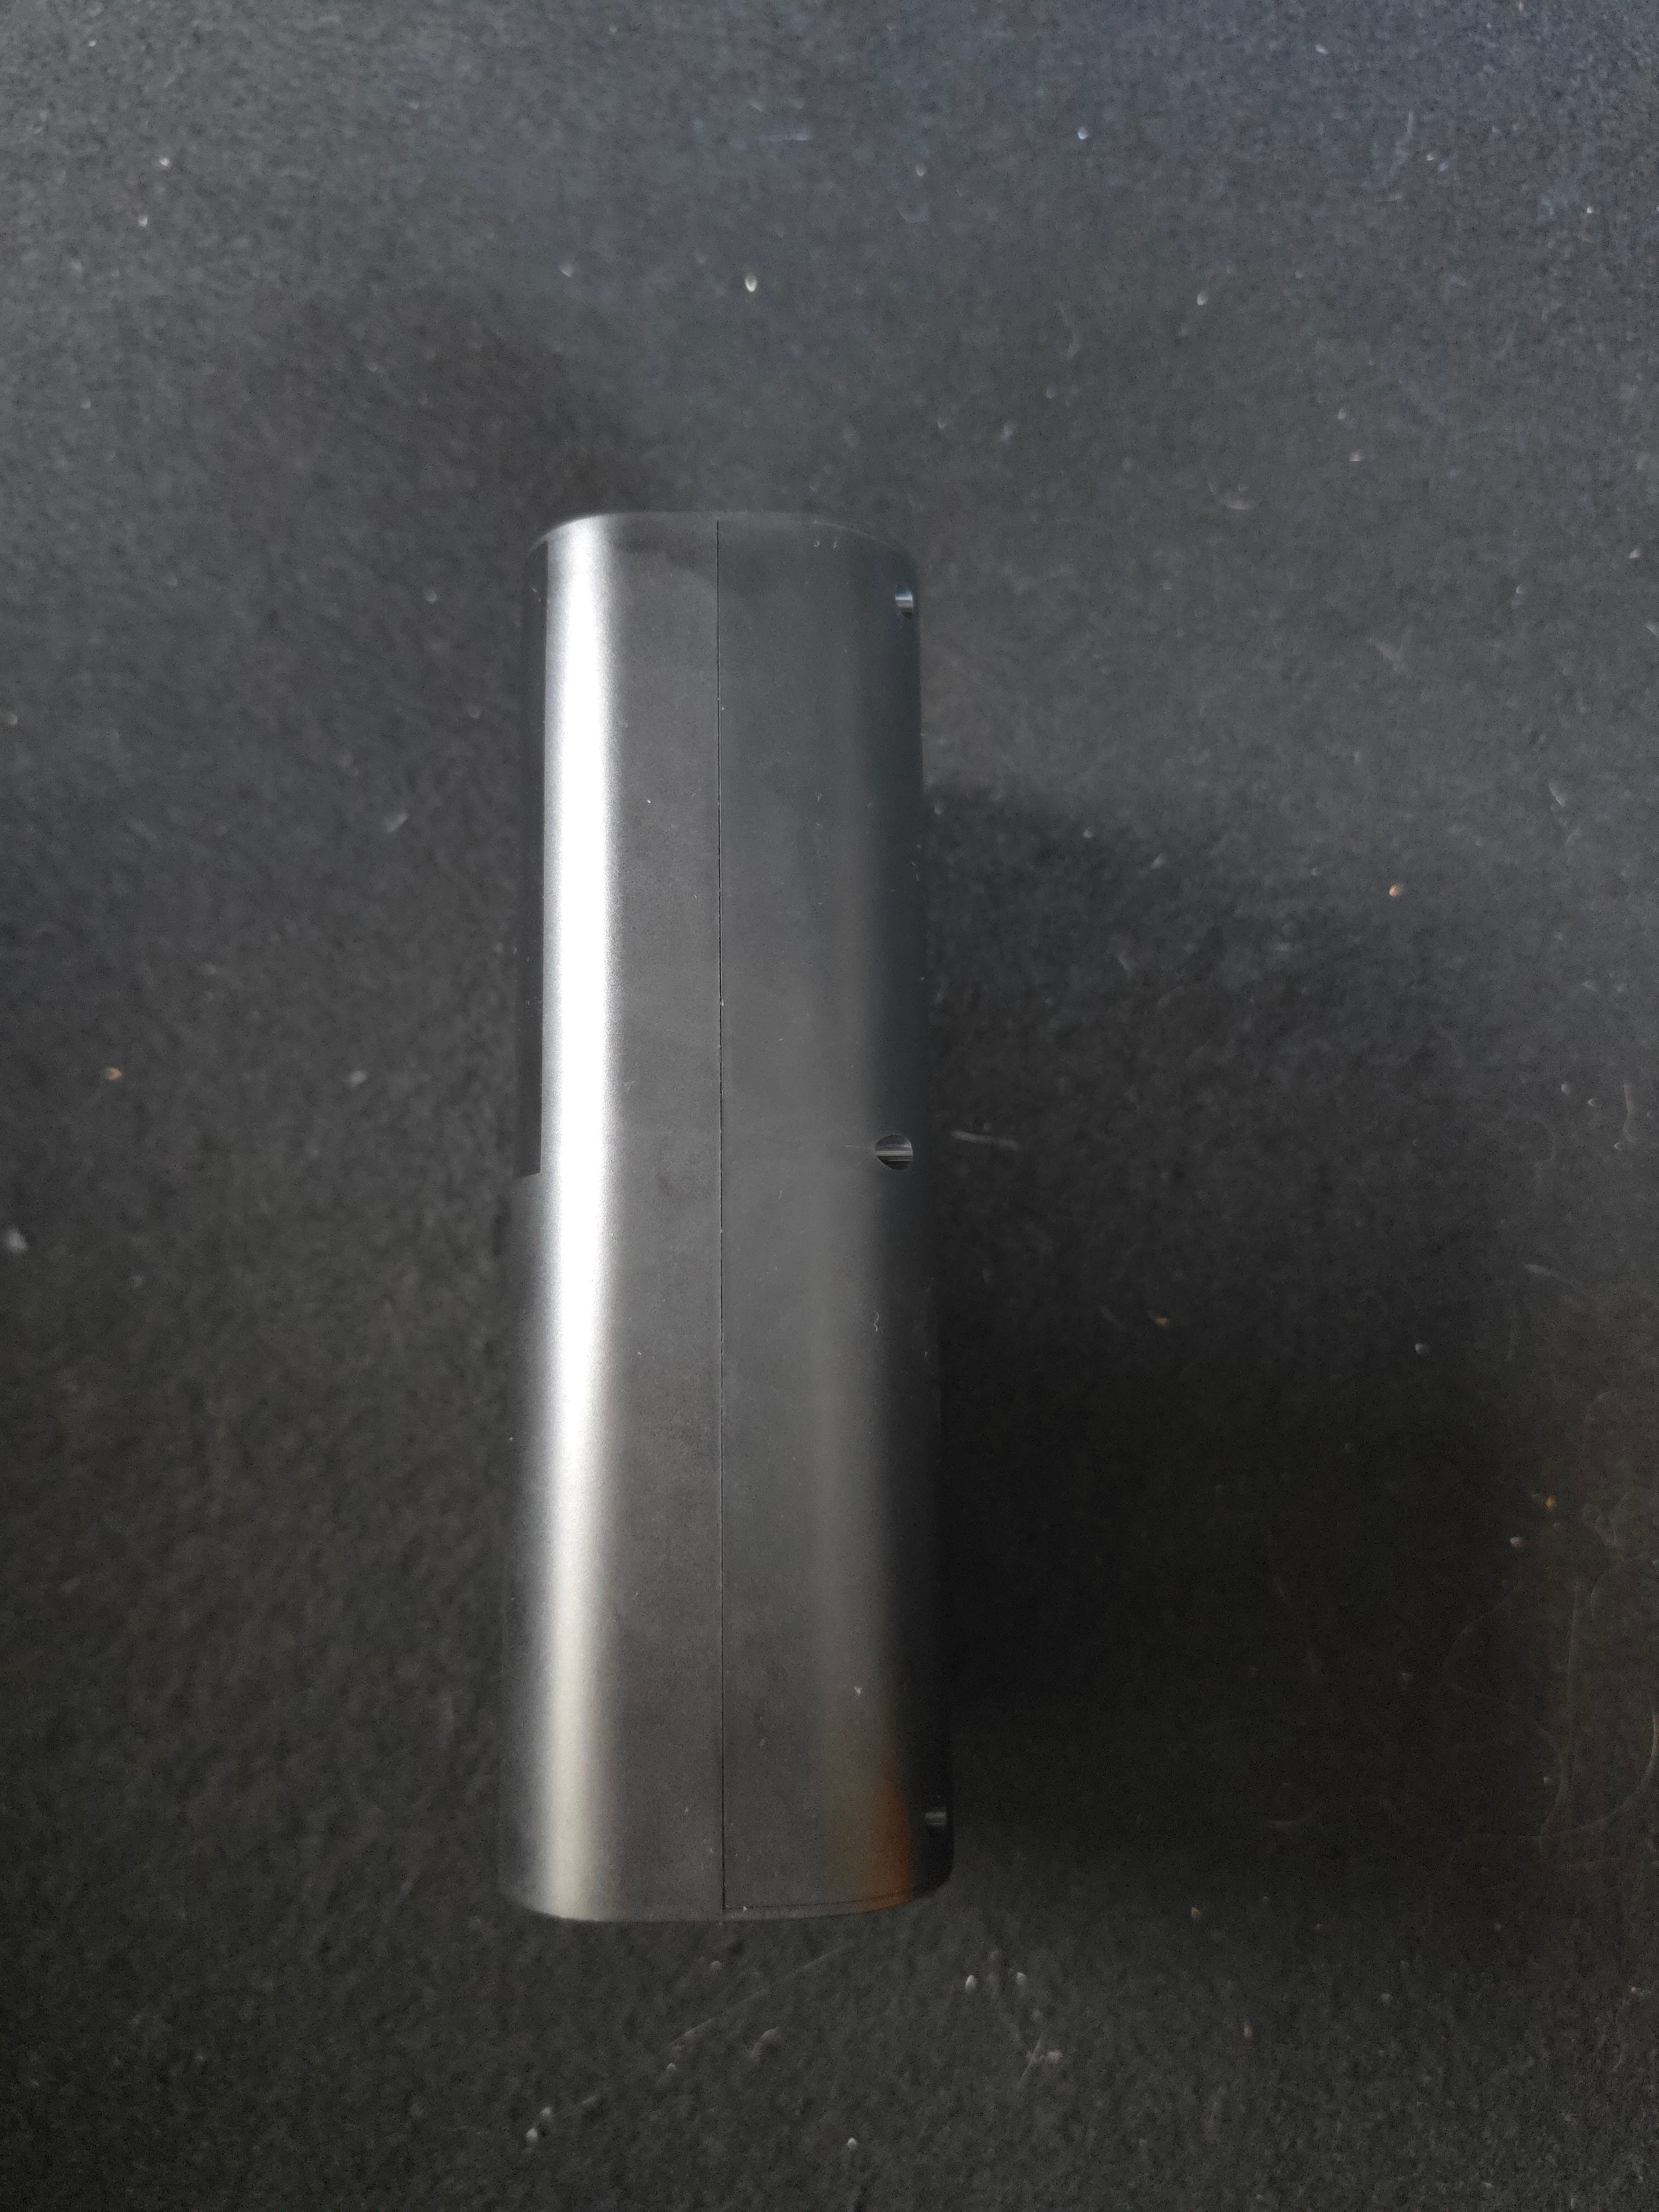
The left connection is the inflator-hose port. The right side is the emergency light.
USB-C charges Pompie. The centre DC port accepts the supplied 12V car charger. USB-A supplies power-bank output. The flap marked with a car icon covers the keyed two-hole jumper-attachment port.
SAFETY FIRST
Know the limits before you use it.
Pompie is not intended for 24V systems or large commercial vehicles.
Do not use damaged cables, clamps, connectors or a visibly damaged unit.
Keep cables and the unit away from belts, fans, hot components and other moving parts.
The metal inflator connection on Pompie and the metal end of the hose can become extremely hot during use. Handle the hose by the orange silicone-protected area and allow metal parts to cool before touching or packing them away.
Use the pressure recommended by the vehicle or tyre manufacturer. Pompie being tested to 4 bar is not a recommended tyre pressure.
Pompie is roadside backup, not a substitute for professional roadside assistance, diagnosis or emergency services.
CHARGING
Charging Pompie
Before first use, charge Pompie for at least 4 hours. The battery icon fills while charging and shows a solid full battery when fully charged.

METHOD 01
USB-C charging
- Connect the USB-C end of the supplied USB-A to USB-C cable to Pompie’s USB-C charging port.
- Connect the USB-A end to a computer USB port, USB wall socket or USB-A charging block.
- Watch the battery icon fill while charging. A solid full battery means charging is complete.
Pompie will only charge through this cable when the USB-C end is connected to Pompie’s USB-C port.
METHOD 02
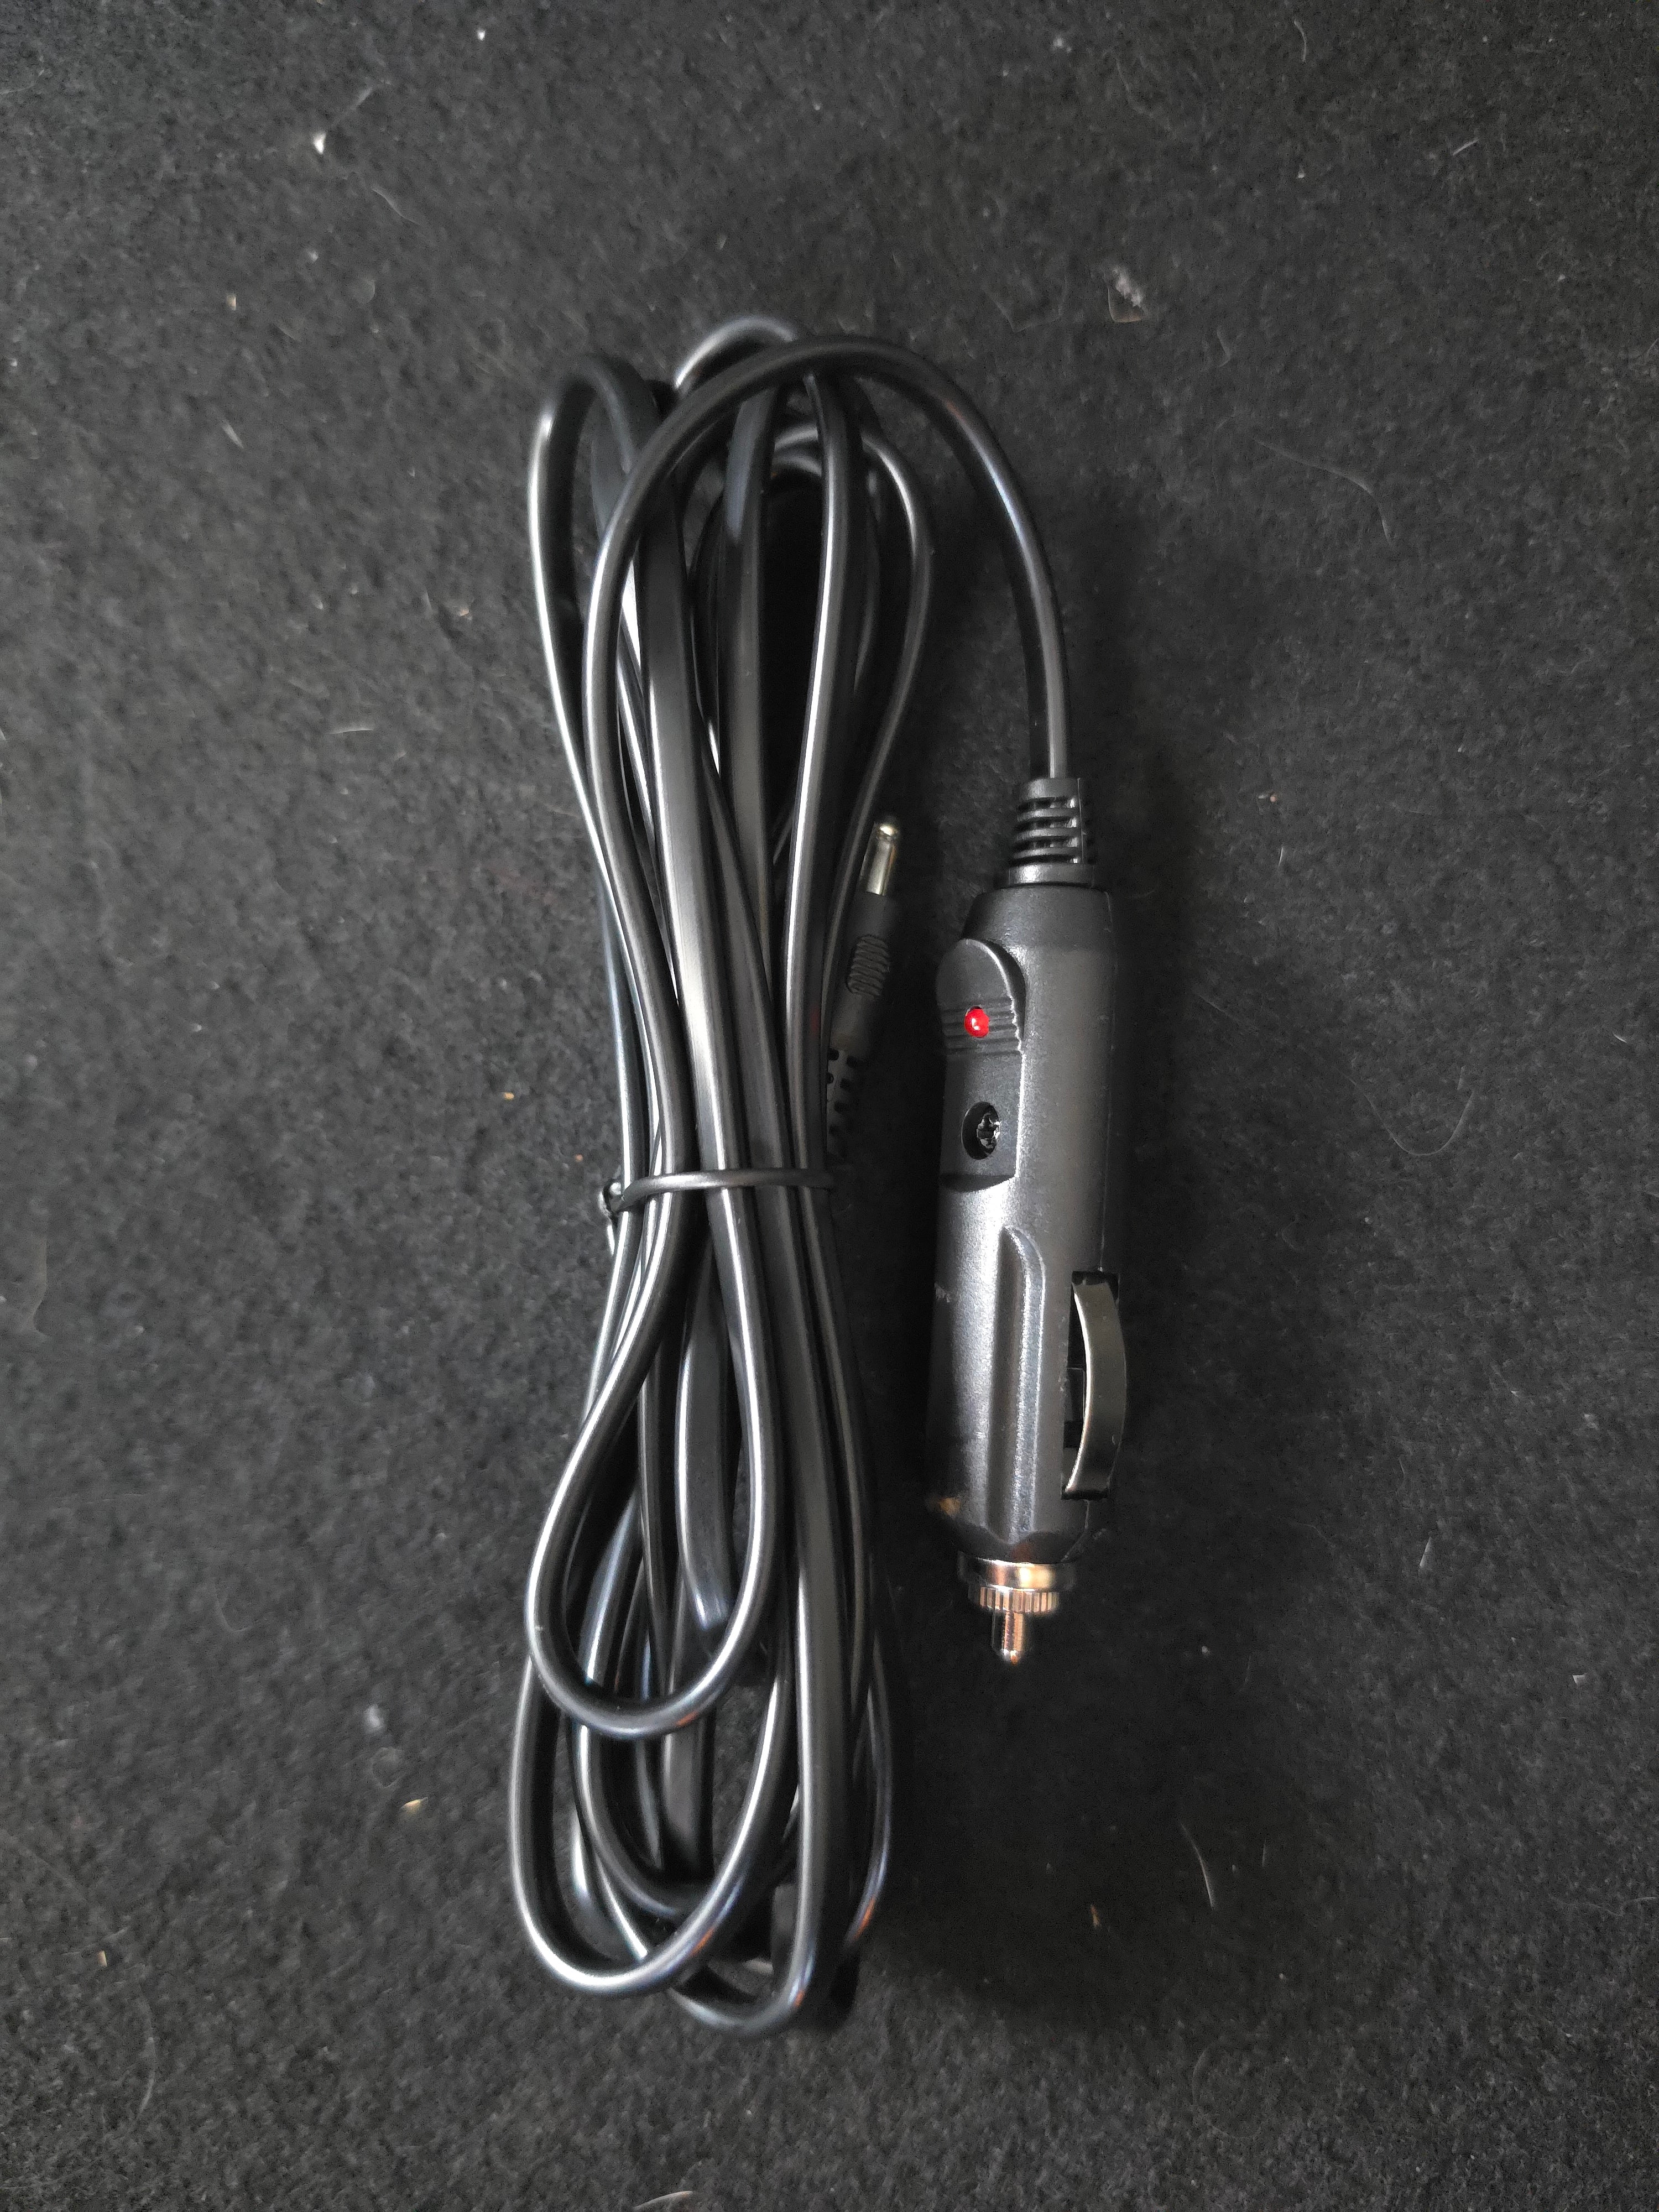
12V in-car charging
- The vehicle must be on or running.
- Plug the supplied car charger into the vehicle’s 12V/cigarette-lighter socket.
- Connect the other end to Pompie’s centre DC charging port.
- Short-press Pompie’s light button once to begin charging.
- The red LED on the car charger plug lights when the vehicle-side connection is successful.
There is no required disconnection order.
JUMP STARTER
Jump starting a 12V vehicle
Pompie’s jump-start function is intended primarily for motorcycles and small-capacity four-cylinder 12V engines, including fully discharged-battery situations. Larger engines may sometimes start where the battery still retains some charge, but this is outside the primary intended use and cannot be guaranteed. Follow the exact connection and disconnection sequence below, and only attempt to start when the jumper box shows a solid green ready light.
Jumper-box indicators
Flashing red before Pompie is connected: clamps are connected the wrong way around.
Solid red before Pompie is connected: clamps are connected correctly to the battery.
Rapid alternating LEDs after connecting Pompie: connection check in progress.
Flashing red after connecting Pompie: something is not connected correctly.
Solid green + audible click: connection is ready for starting.
Connection sequence
- Connect the black negative (-) clamp first.
- Connect the red positive (+) clamp second.
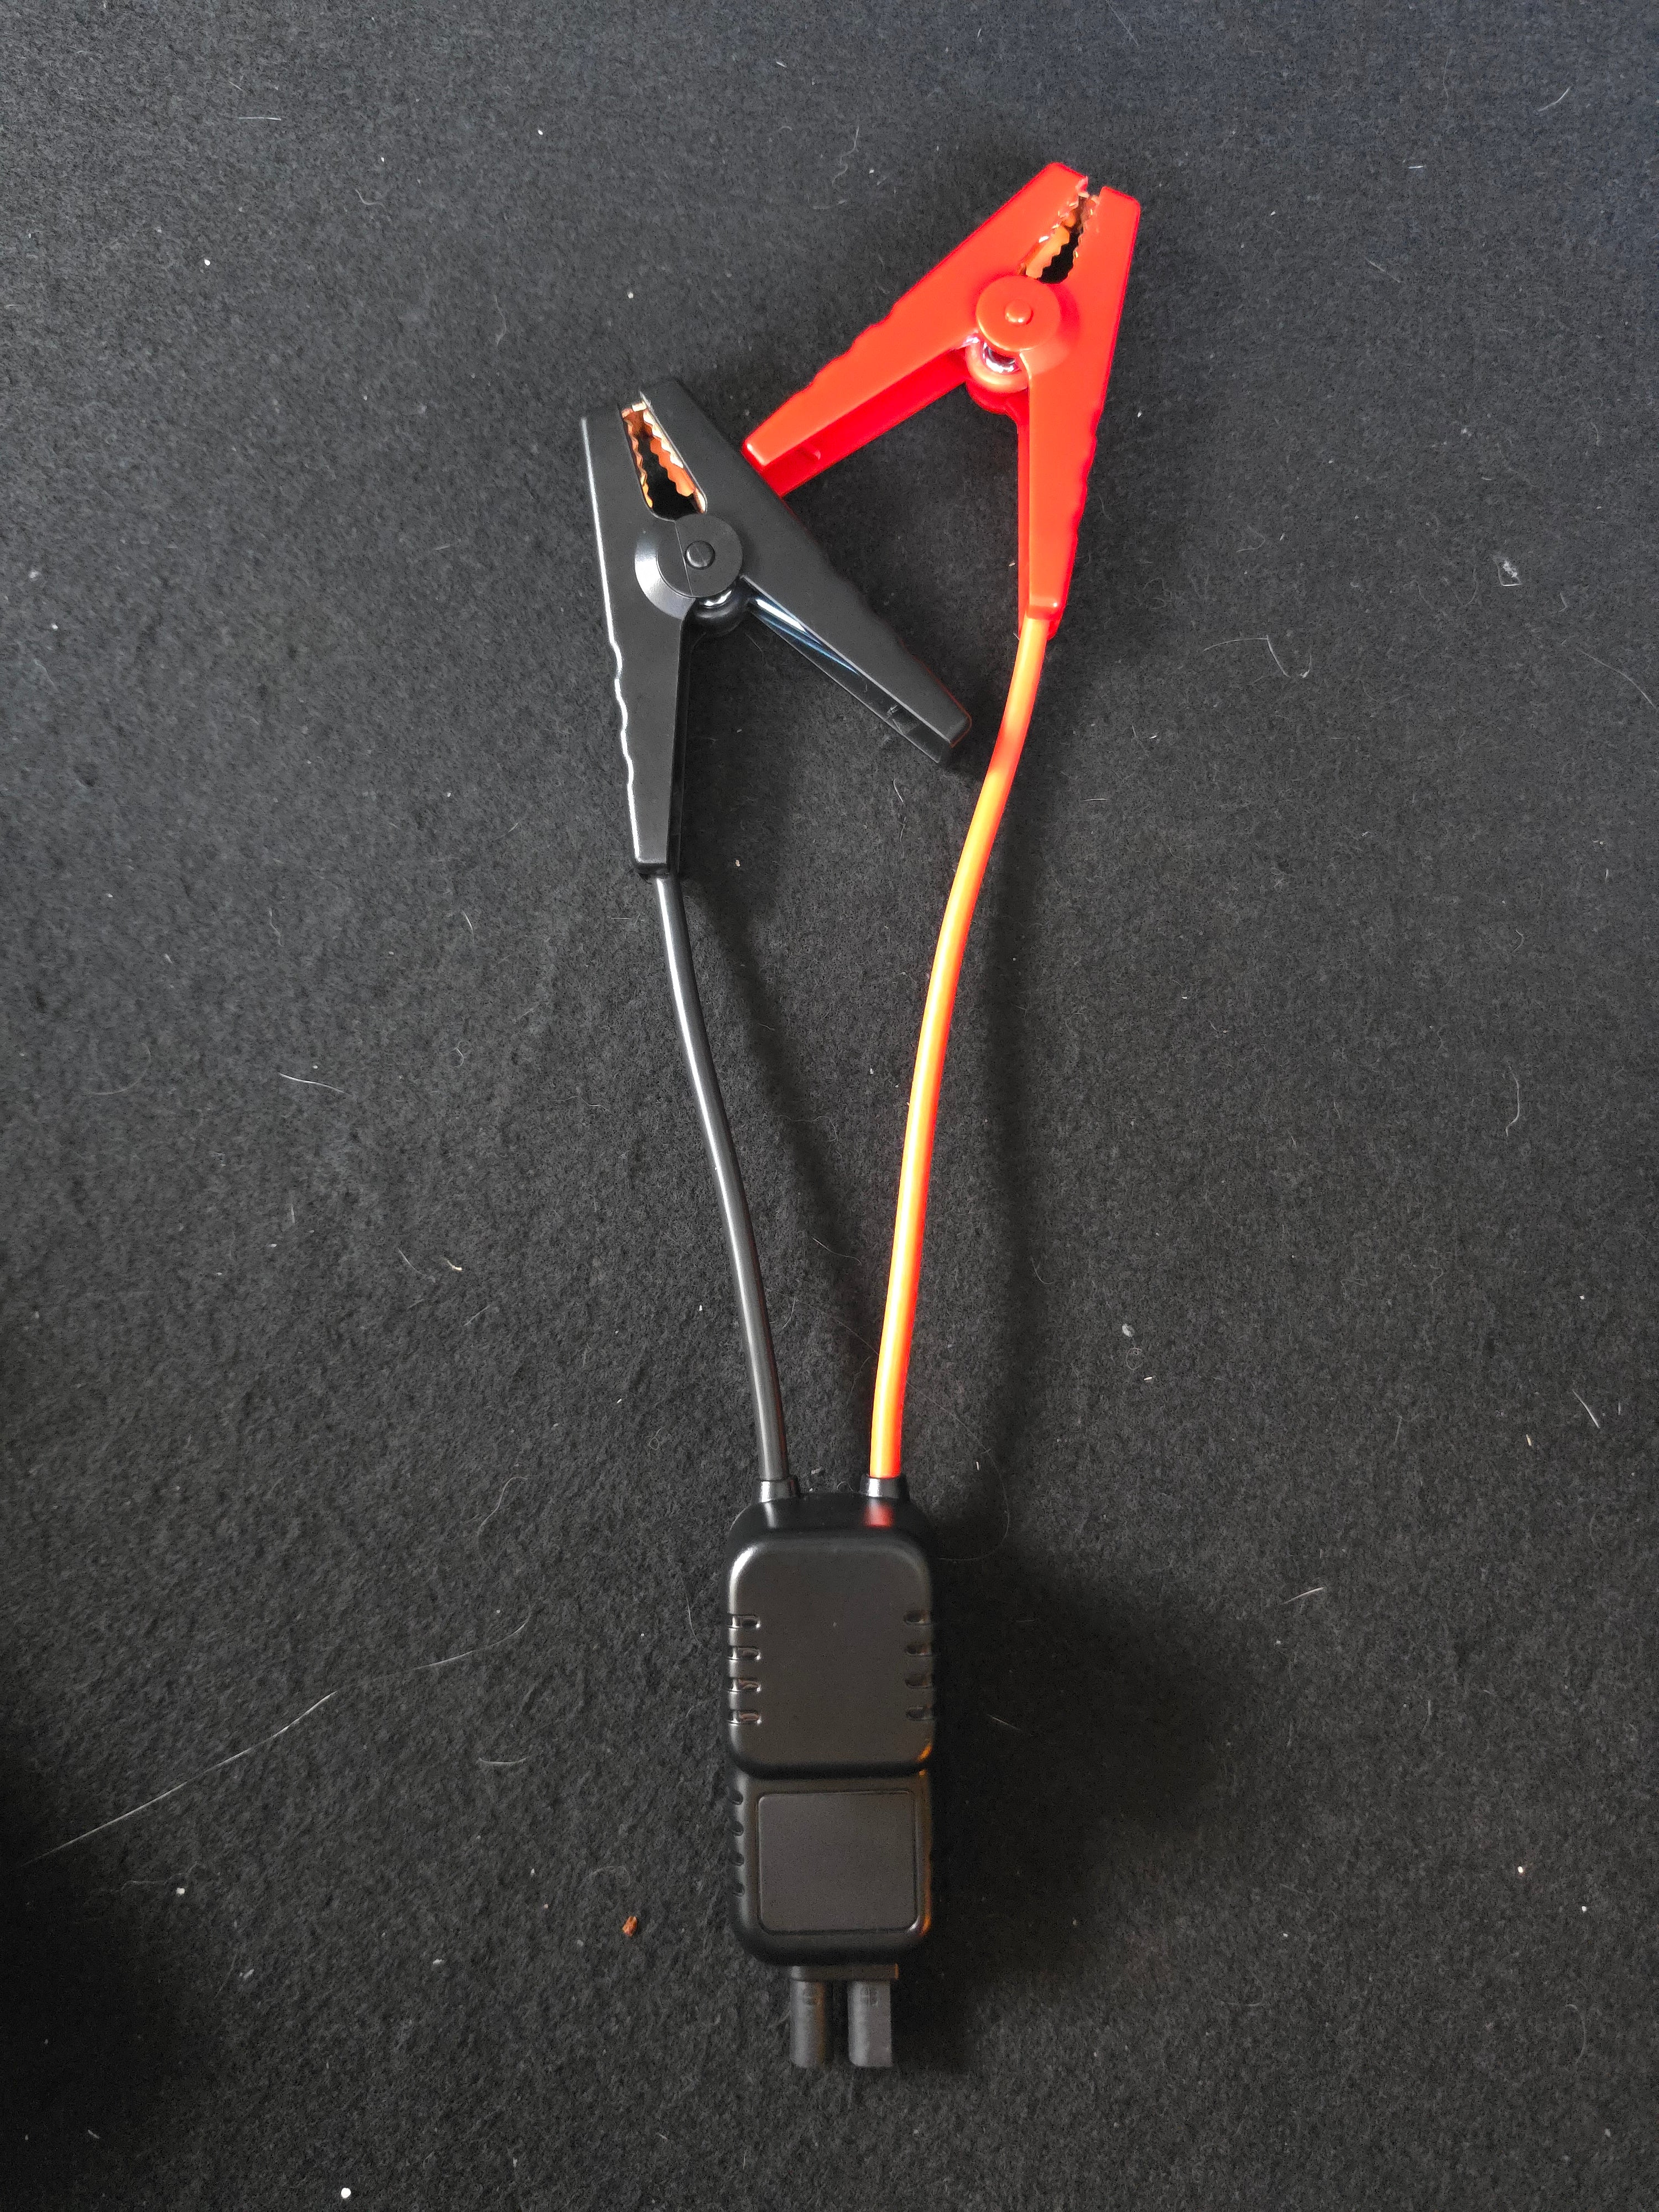
- Move the flap with the car icon out of the way and connect the jumper attachment to Pompie last. The keyed two-hole plug can only fit the correct way around.
- Wait for a solid green LED and the audible click.
- Start the vehicle.
Disconnect after the vehicle starts
- Disconnect the jumper attachment from Pompie first.
- Remove the red positive clamp.
- Remove the black negative clamp last.
The negative lead is slightly shorter than the positive lead to help prevent accidental shorting.
TYRE INFLATOR
Using the tyre inflator
The display shows current pressure and your selected target. Pompie stops automatically when the target is reached.
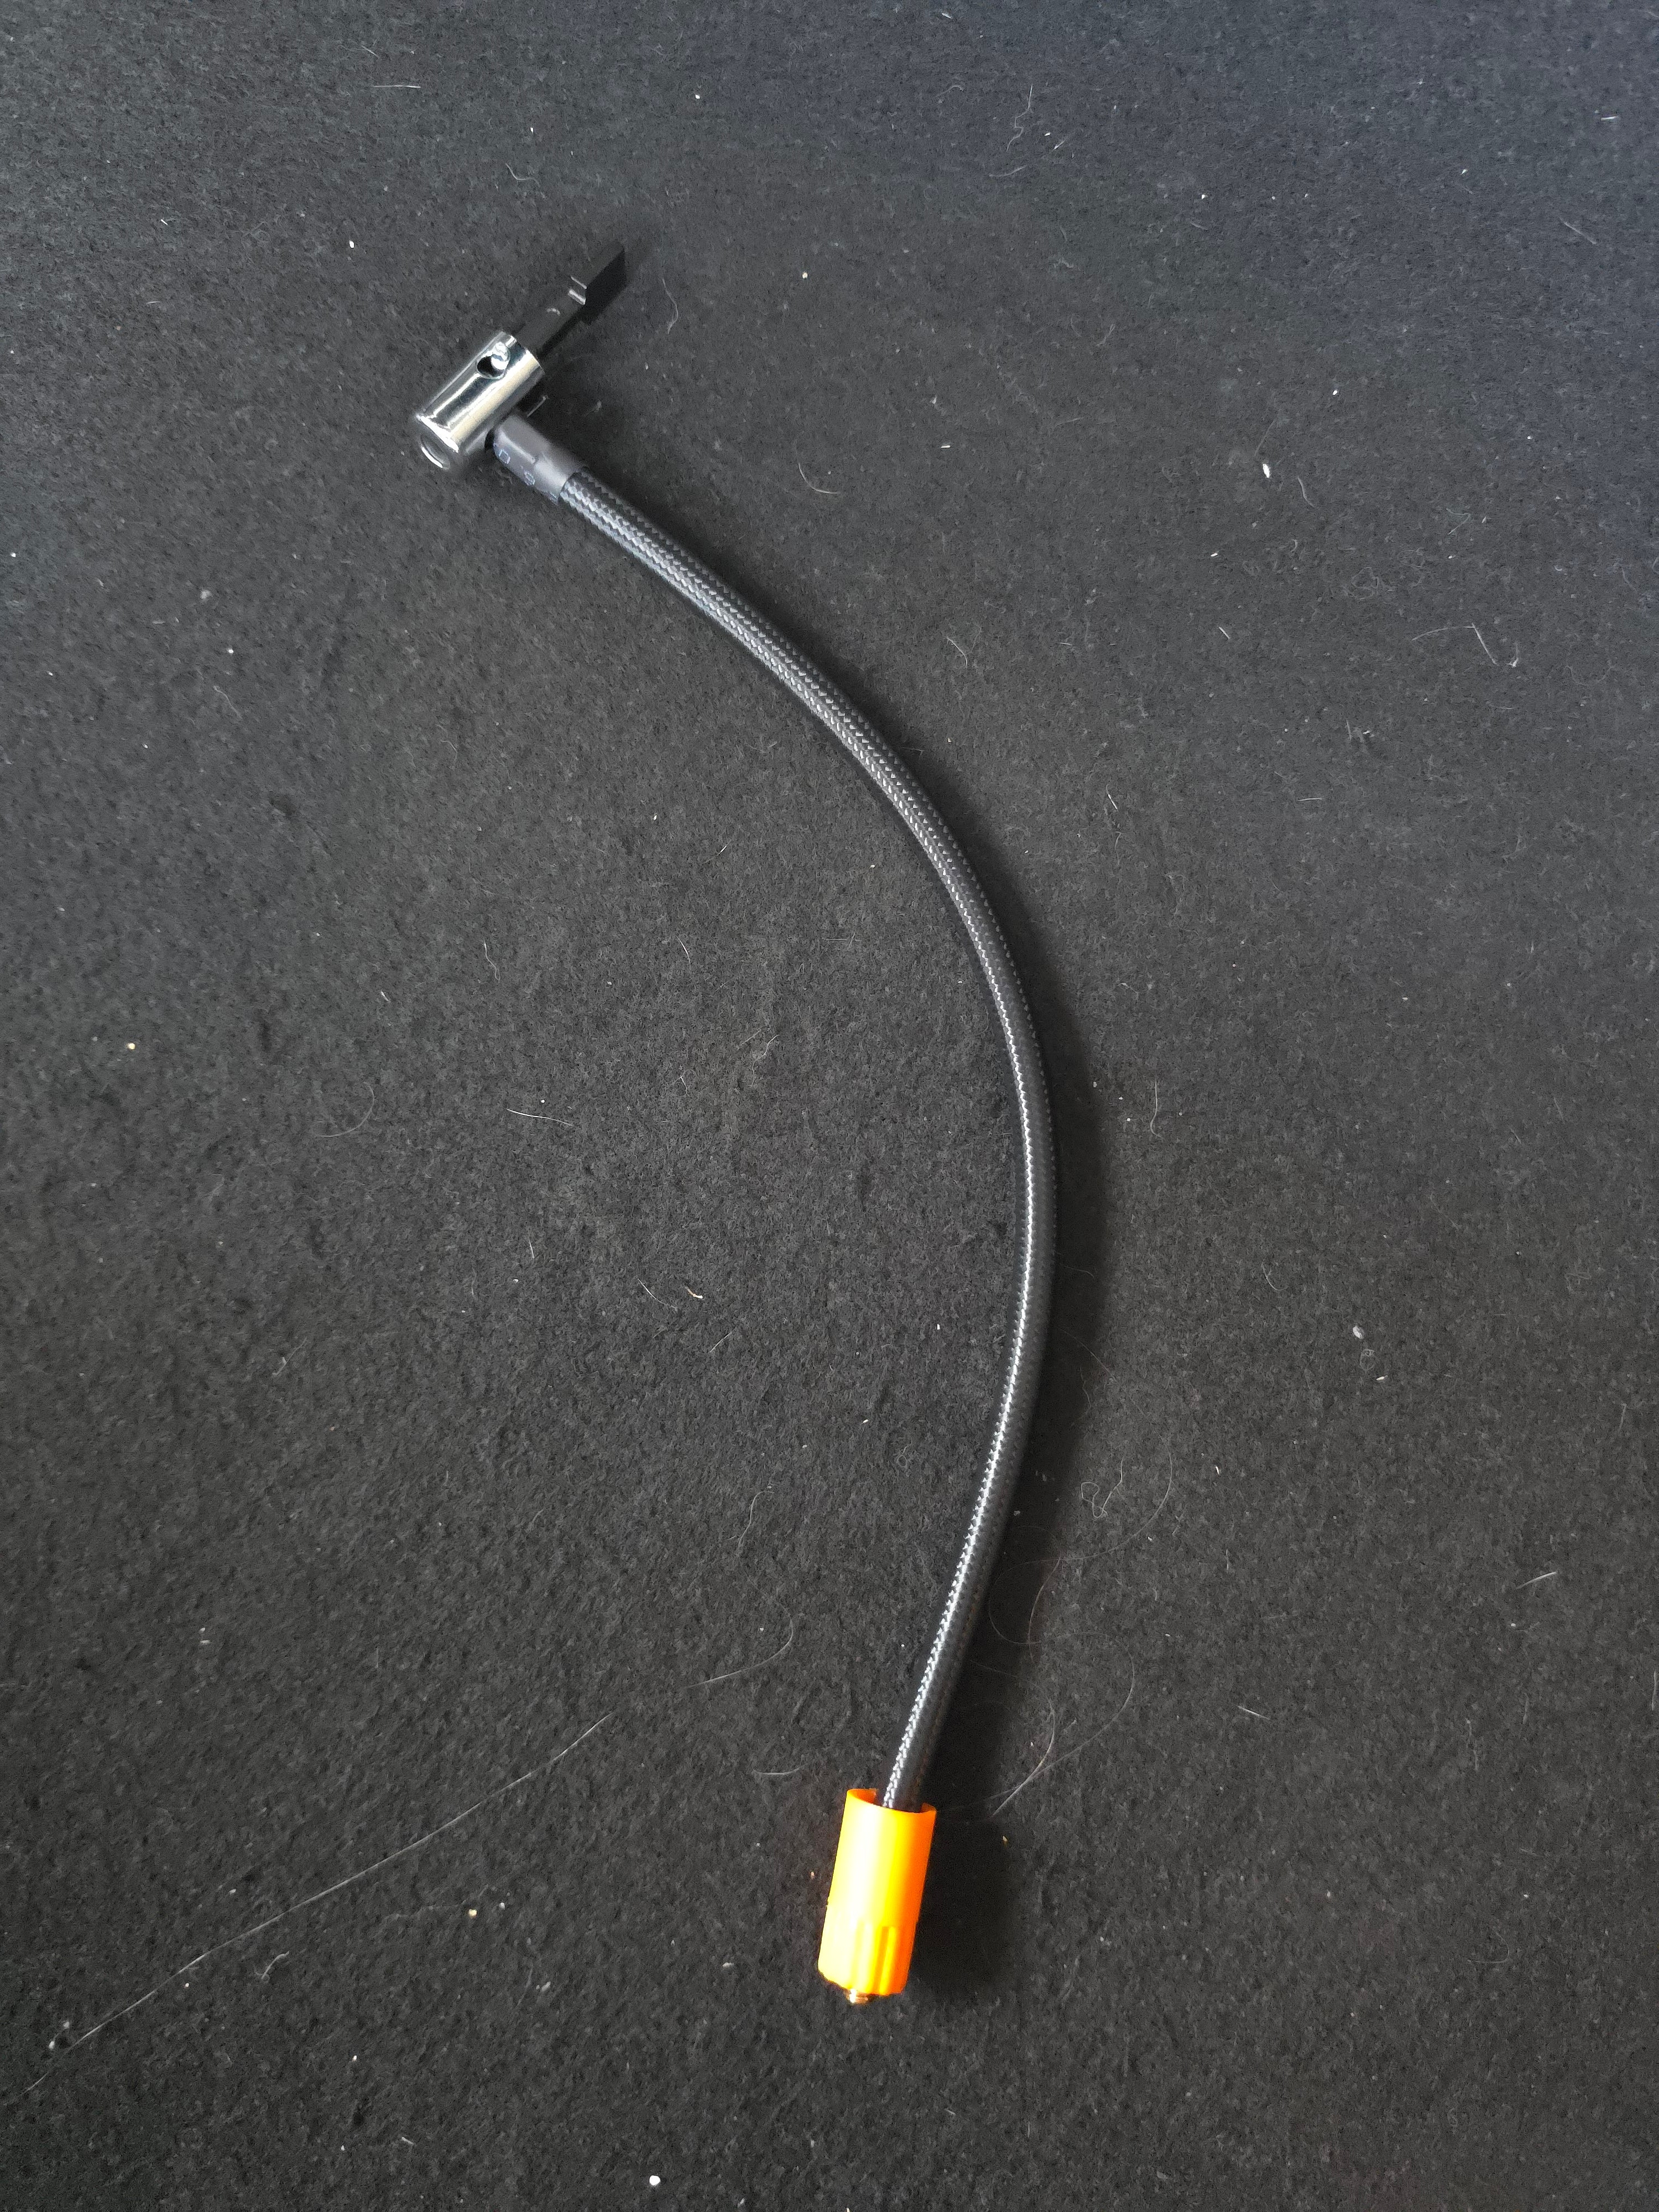
Inflator hose heat
The metal fitting at the orange end screws into Pompie’s inflator port and becomes extremely hot during use.
The orange silicone surround is the protected handling area.
The hose itself may become warm but should not burn during normal handling. The clamp end can also become warm to the touch.
Tyre inflation
- Remove the tyre valve cap.
- Clamp the hose onto the tyre valve.
- Screw the orange-protected end of the hose into Pompie’s inflator port.
- Long-press the centre power button to switch Pompie on.
- Use the bottom mode button to select car, motorcycle, bicycle, ball/inflatables or open mode as required.
- If needed, short-press the light button while Pompie is on to cycle the pressure measurement unit.
- Read the connected tyre’s current pressure on the upper display.
- Use + / − to set the target pressure. Short-press for one step or hold for faster adjustment.
- Short-press the centre button once to begin inflation.
- Pompie stops automatically when the selected pressure is reached. Short-press the centre button again if you need to stop manually.
- Disconnect the tyre end, replace the valve cap, then handle the Pompie-side fitting only by the orange silicone-protected area until the metal parts have cooled.
HOT SURFACE: do not touch the exposed metal inflation connector immediately after use.
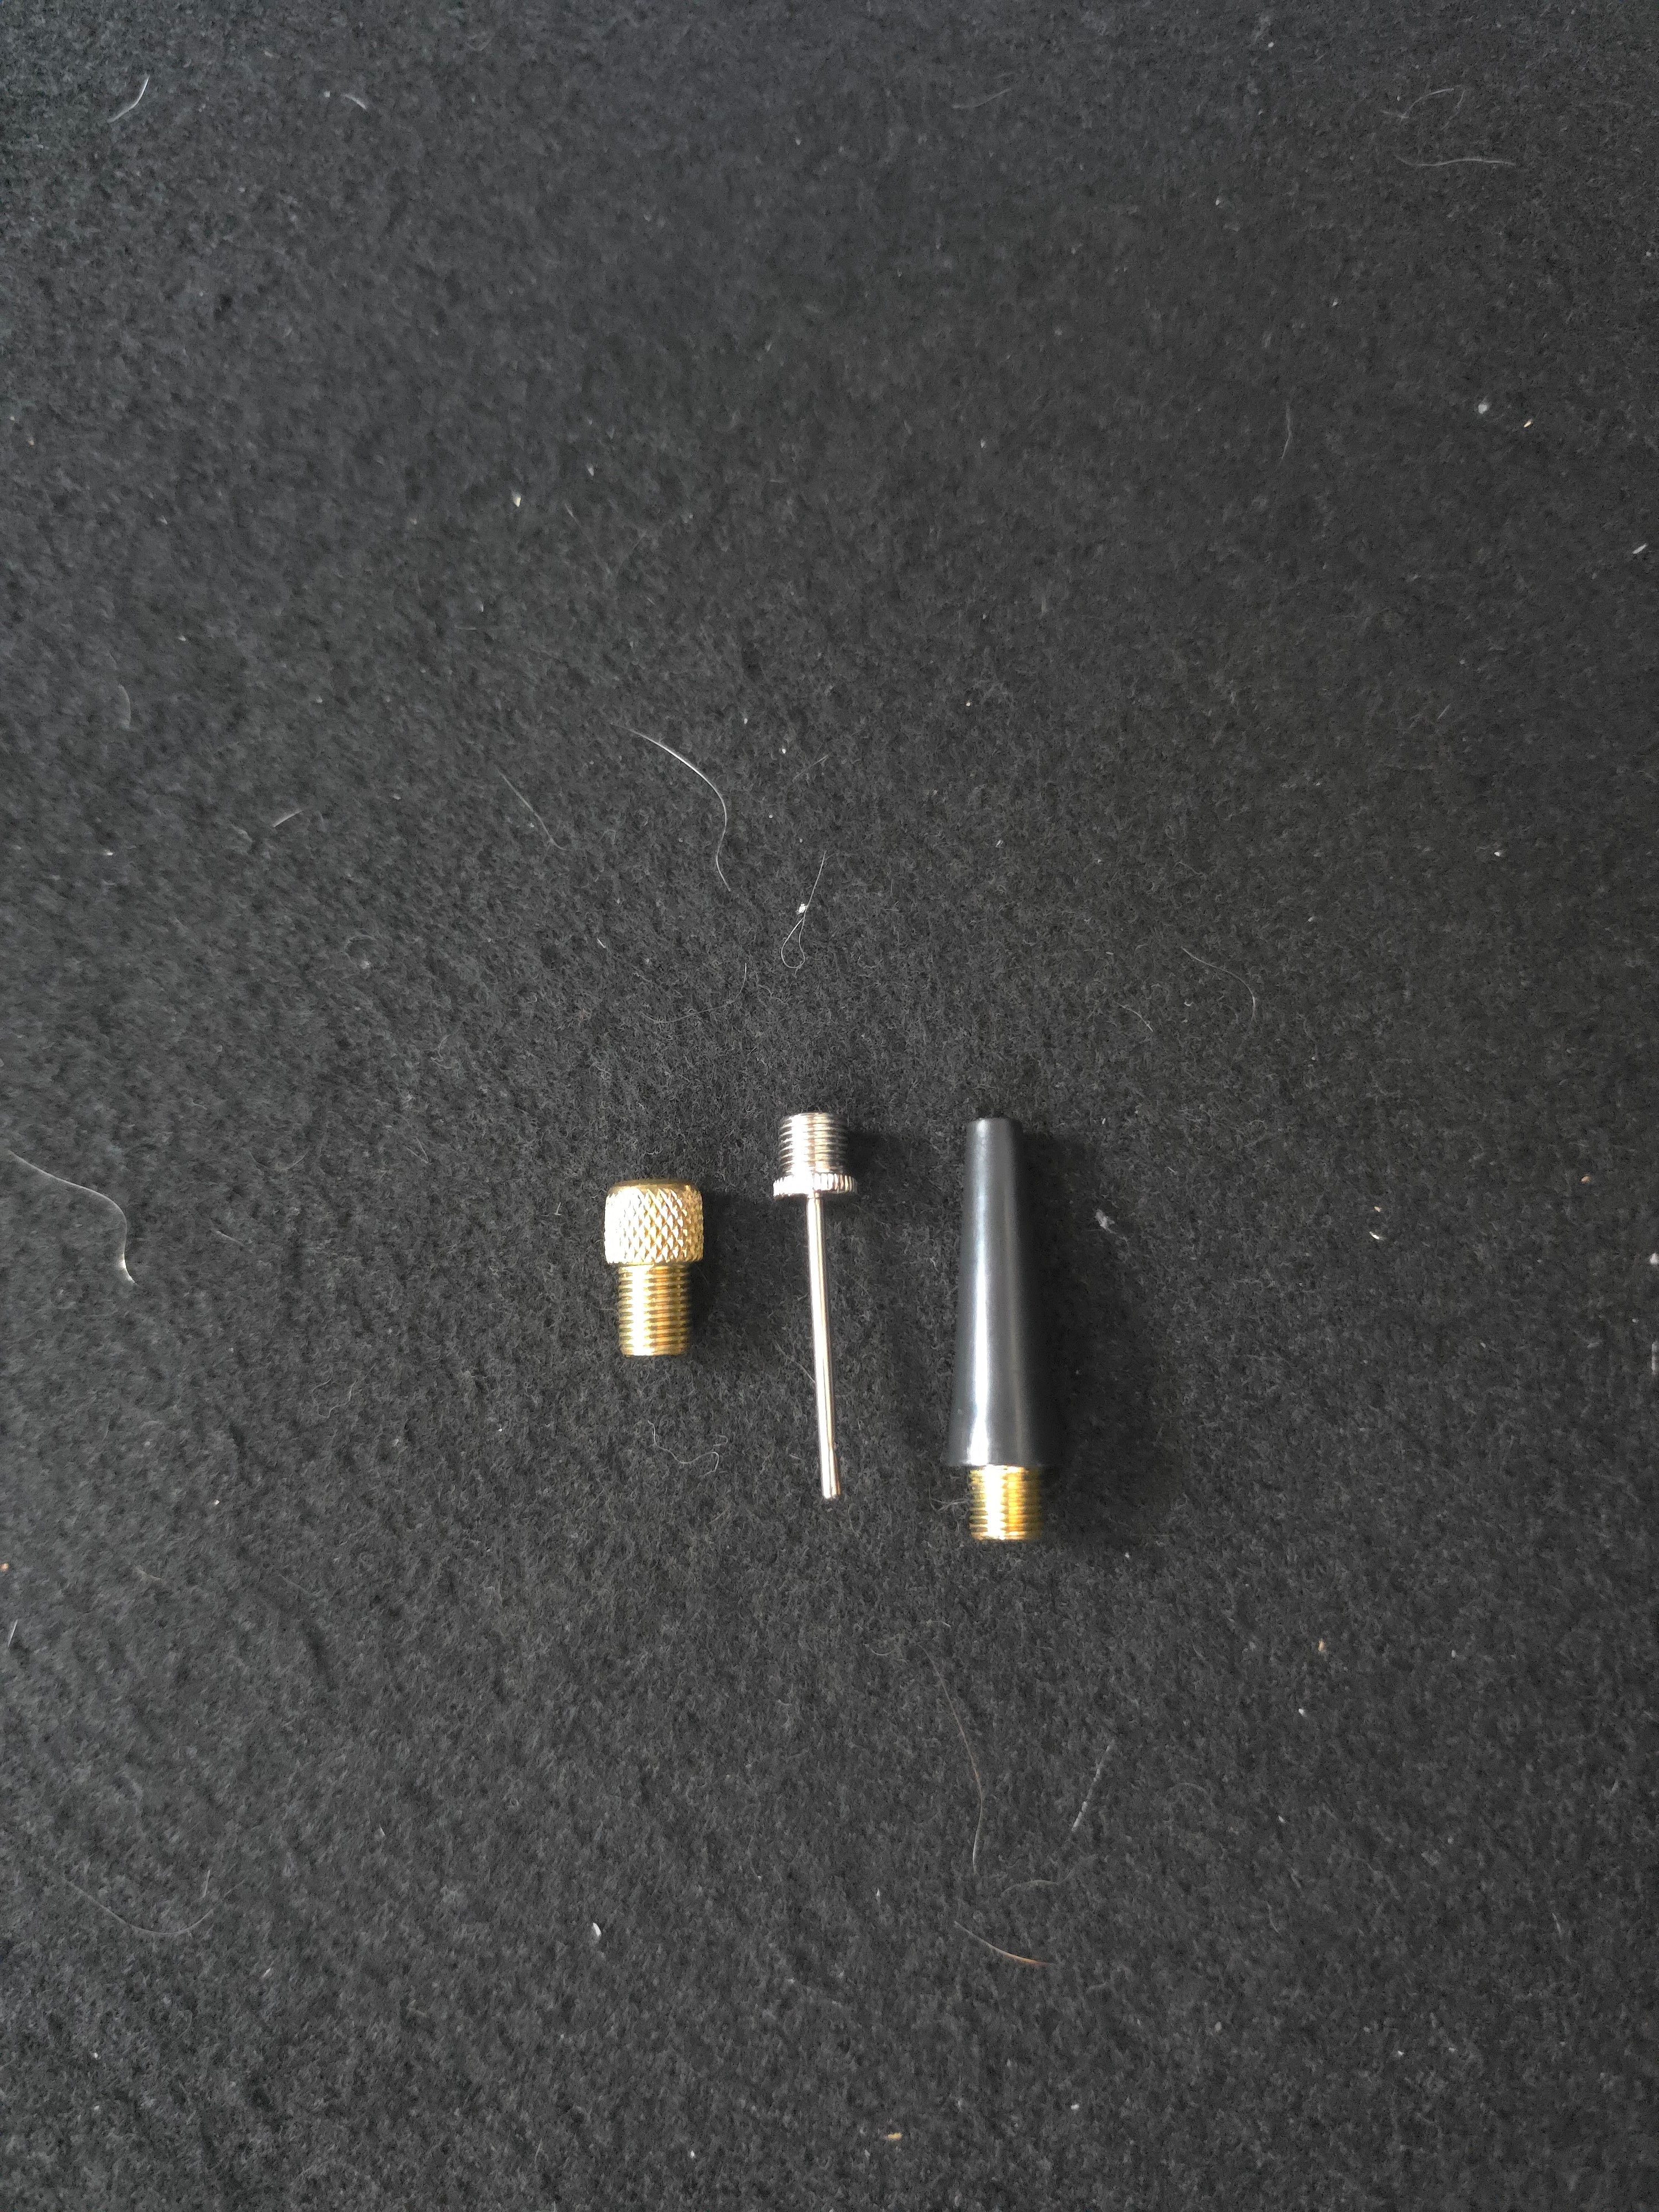
Inflation adapters
The supplied Presta bicycle valve adapter, ball needle and tapered general-inflatable nozzle clamp into the hose end in the same way as a normal tyre valve.
EMERGENCY LIGHT
Using the emergency light
Three light modes are available: steady, slow flash and fast flash.
- With Pompie switched off, press and hold the light button to turn the flashlight on.
- Short-press the light button to cycle between steady → slow flash → fast flash.
- Press and hold the light button again to switch the light off.
USB POWER
Using Pompie as a power bank
Pompie’s USB-A output can supply power to a compatible phone or USB device.
POWER-BANK MODE
Turn USB output on
- With Pompie switched off, short-press the light button once to enter power-bank mode.
- Connect a suitable cable to Pompie’s USB-A output and to your device.
- The connection order does not matter — the device may be plugged in before or after power-bank mode is activated.
- Short-press the light button again to exit power-bank mode.
If nothing is connected, Pompie will exit power-bank mode automatically after a period of inactivity.
SUPPLIED CABLE
Charging a USB-C phone or device
The supplied USB-A to USB-C cable can be used by connecting the USB-A end to Pompie’s USB-A output and the USB-C end to a compatible USB-C phone or device.
WHAT’S IN THE BAG
Included with Pompie.
Pompie unitJumper attachmentInflator hose12V car charging cableUSB-A to USB-C cableCarry bagBall needlePresta bicycle valve adapterTapered general-inflatable nozzleQR onboarding card
STORAGE & CARE
Keep it ready for the day you need it.
Keep Pompie and its accessories together in the supplied carry bag and store the bag securely in your vehicle.
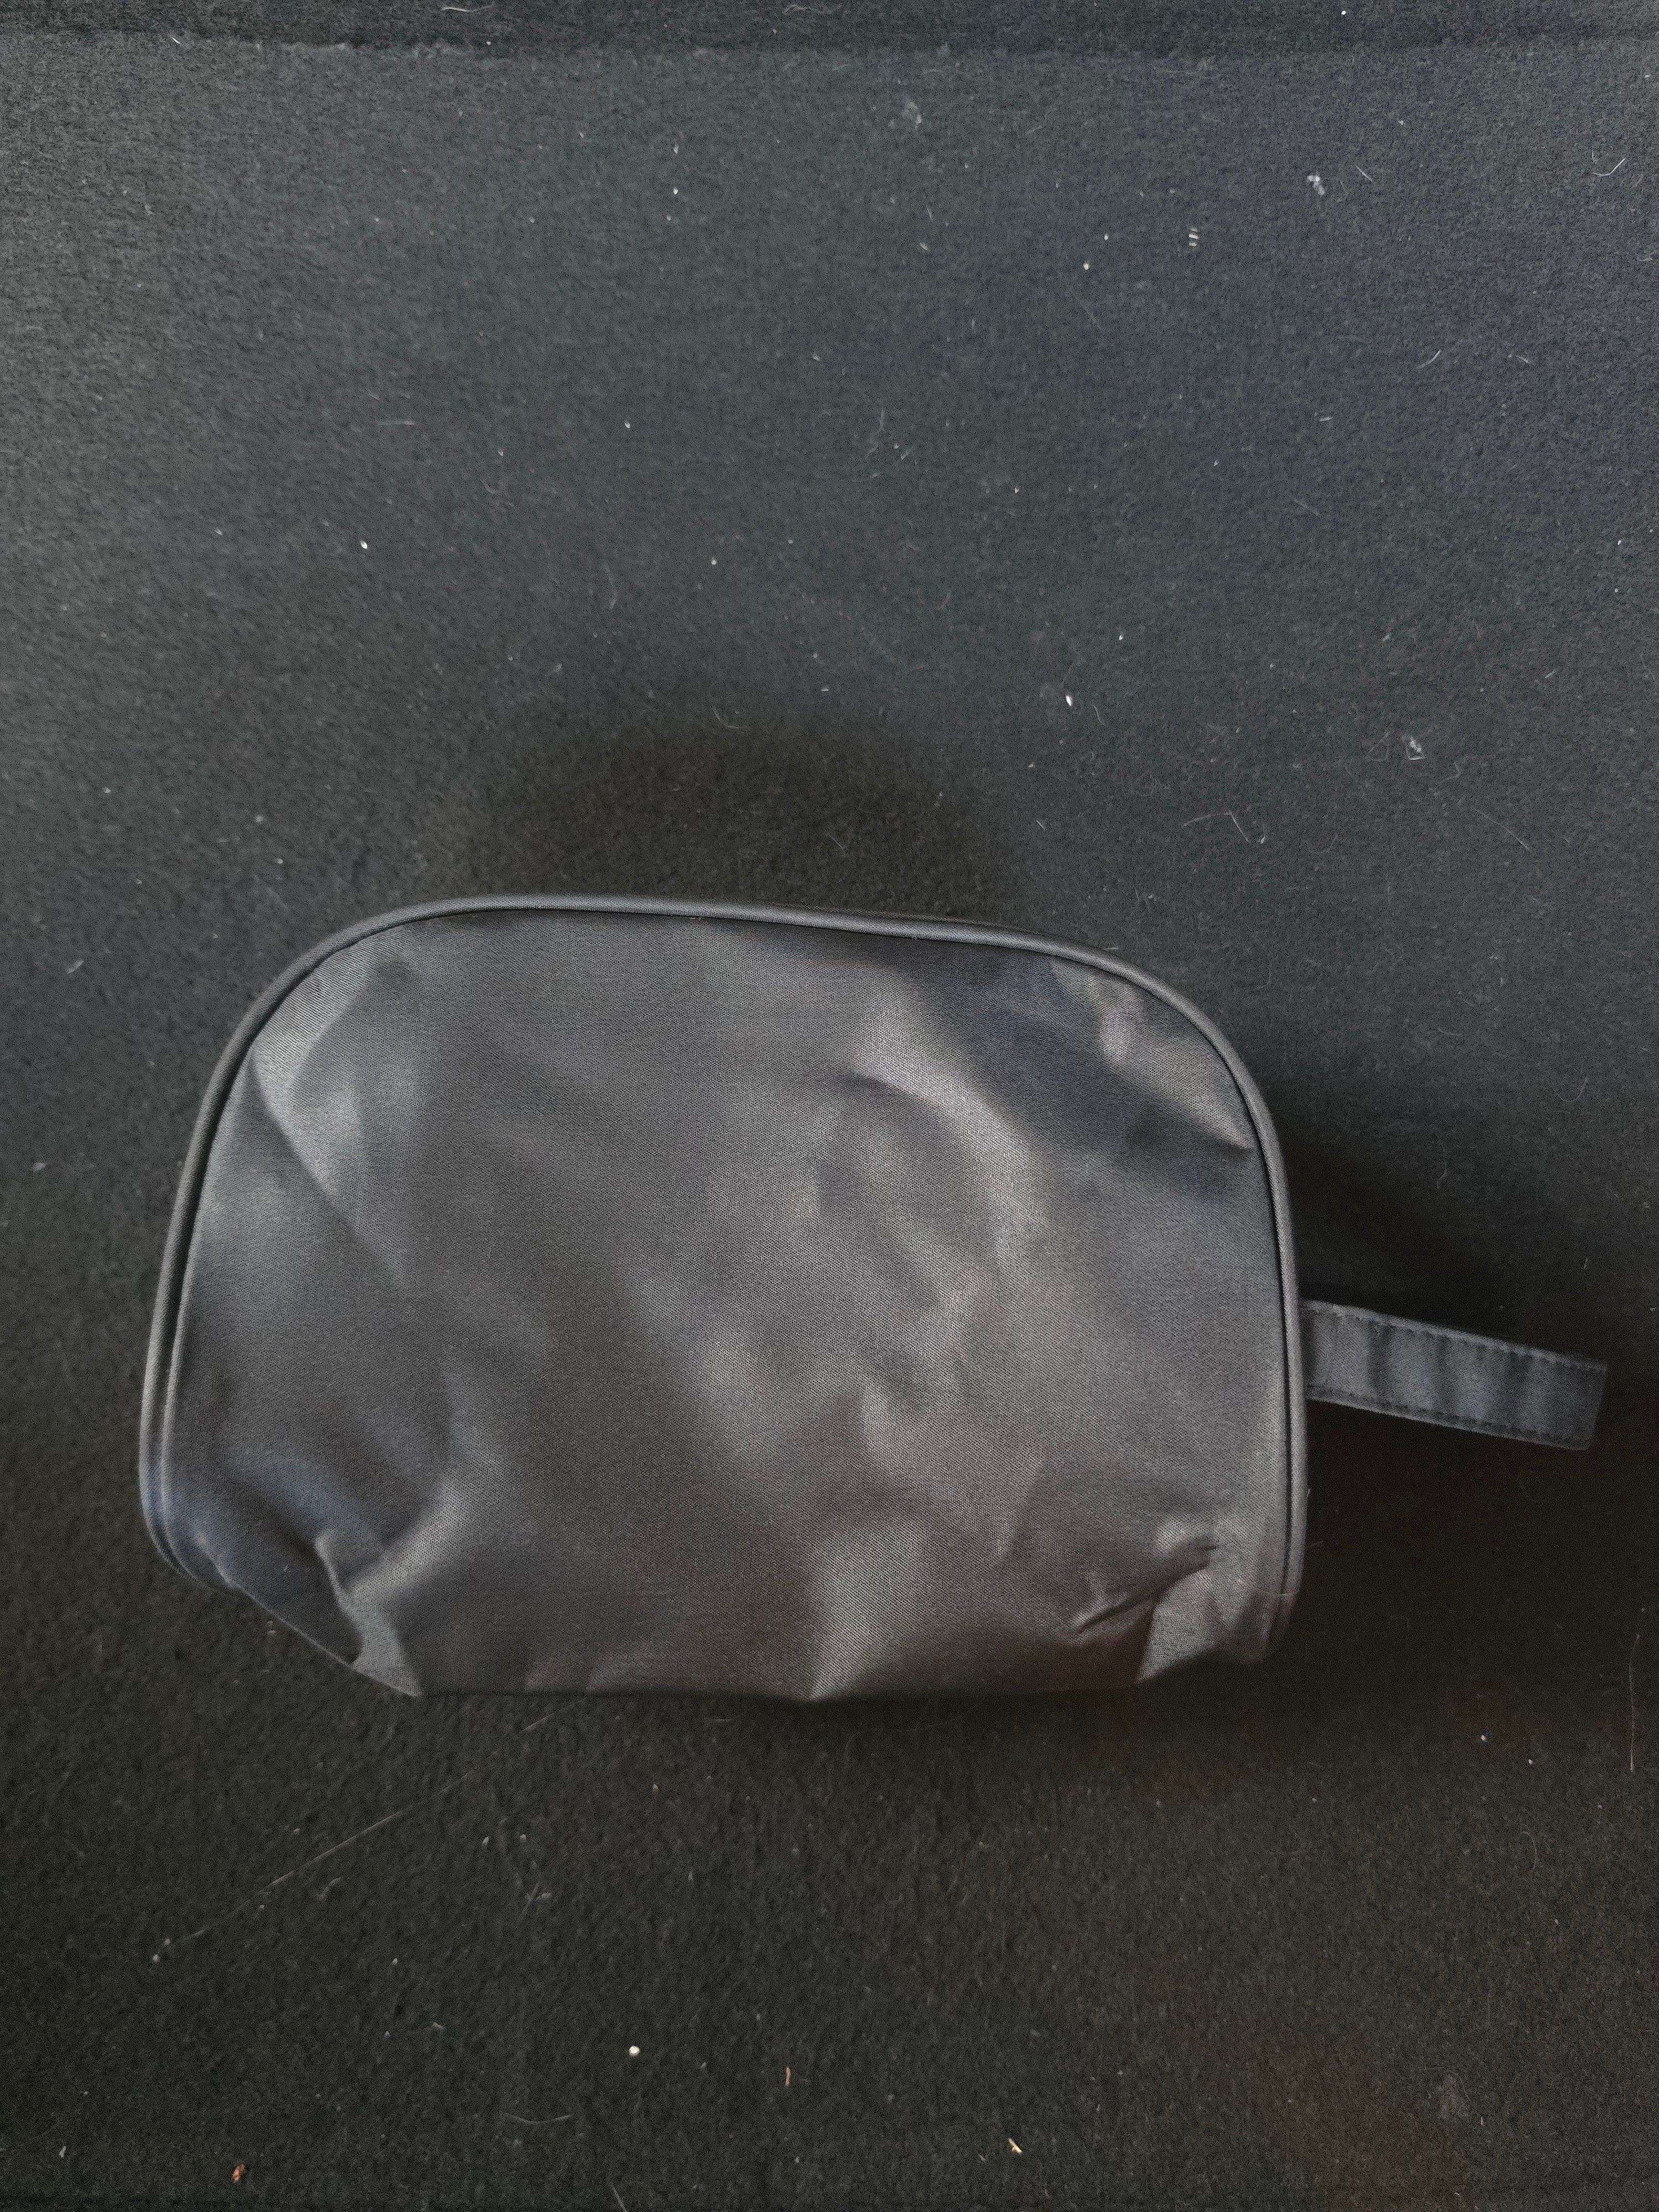
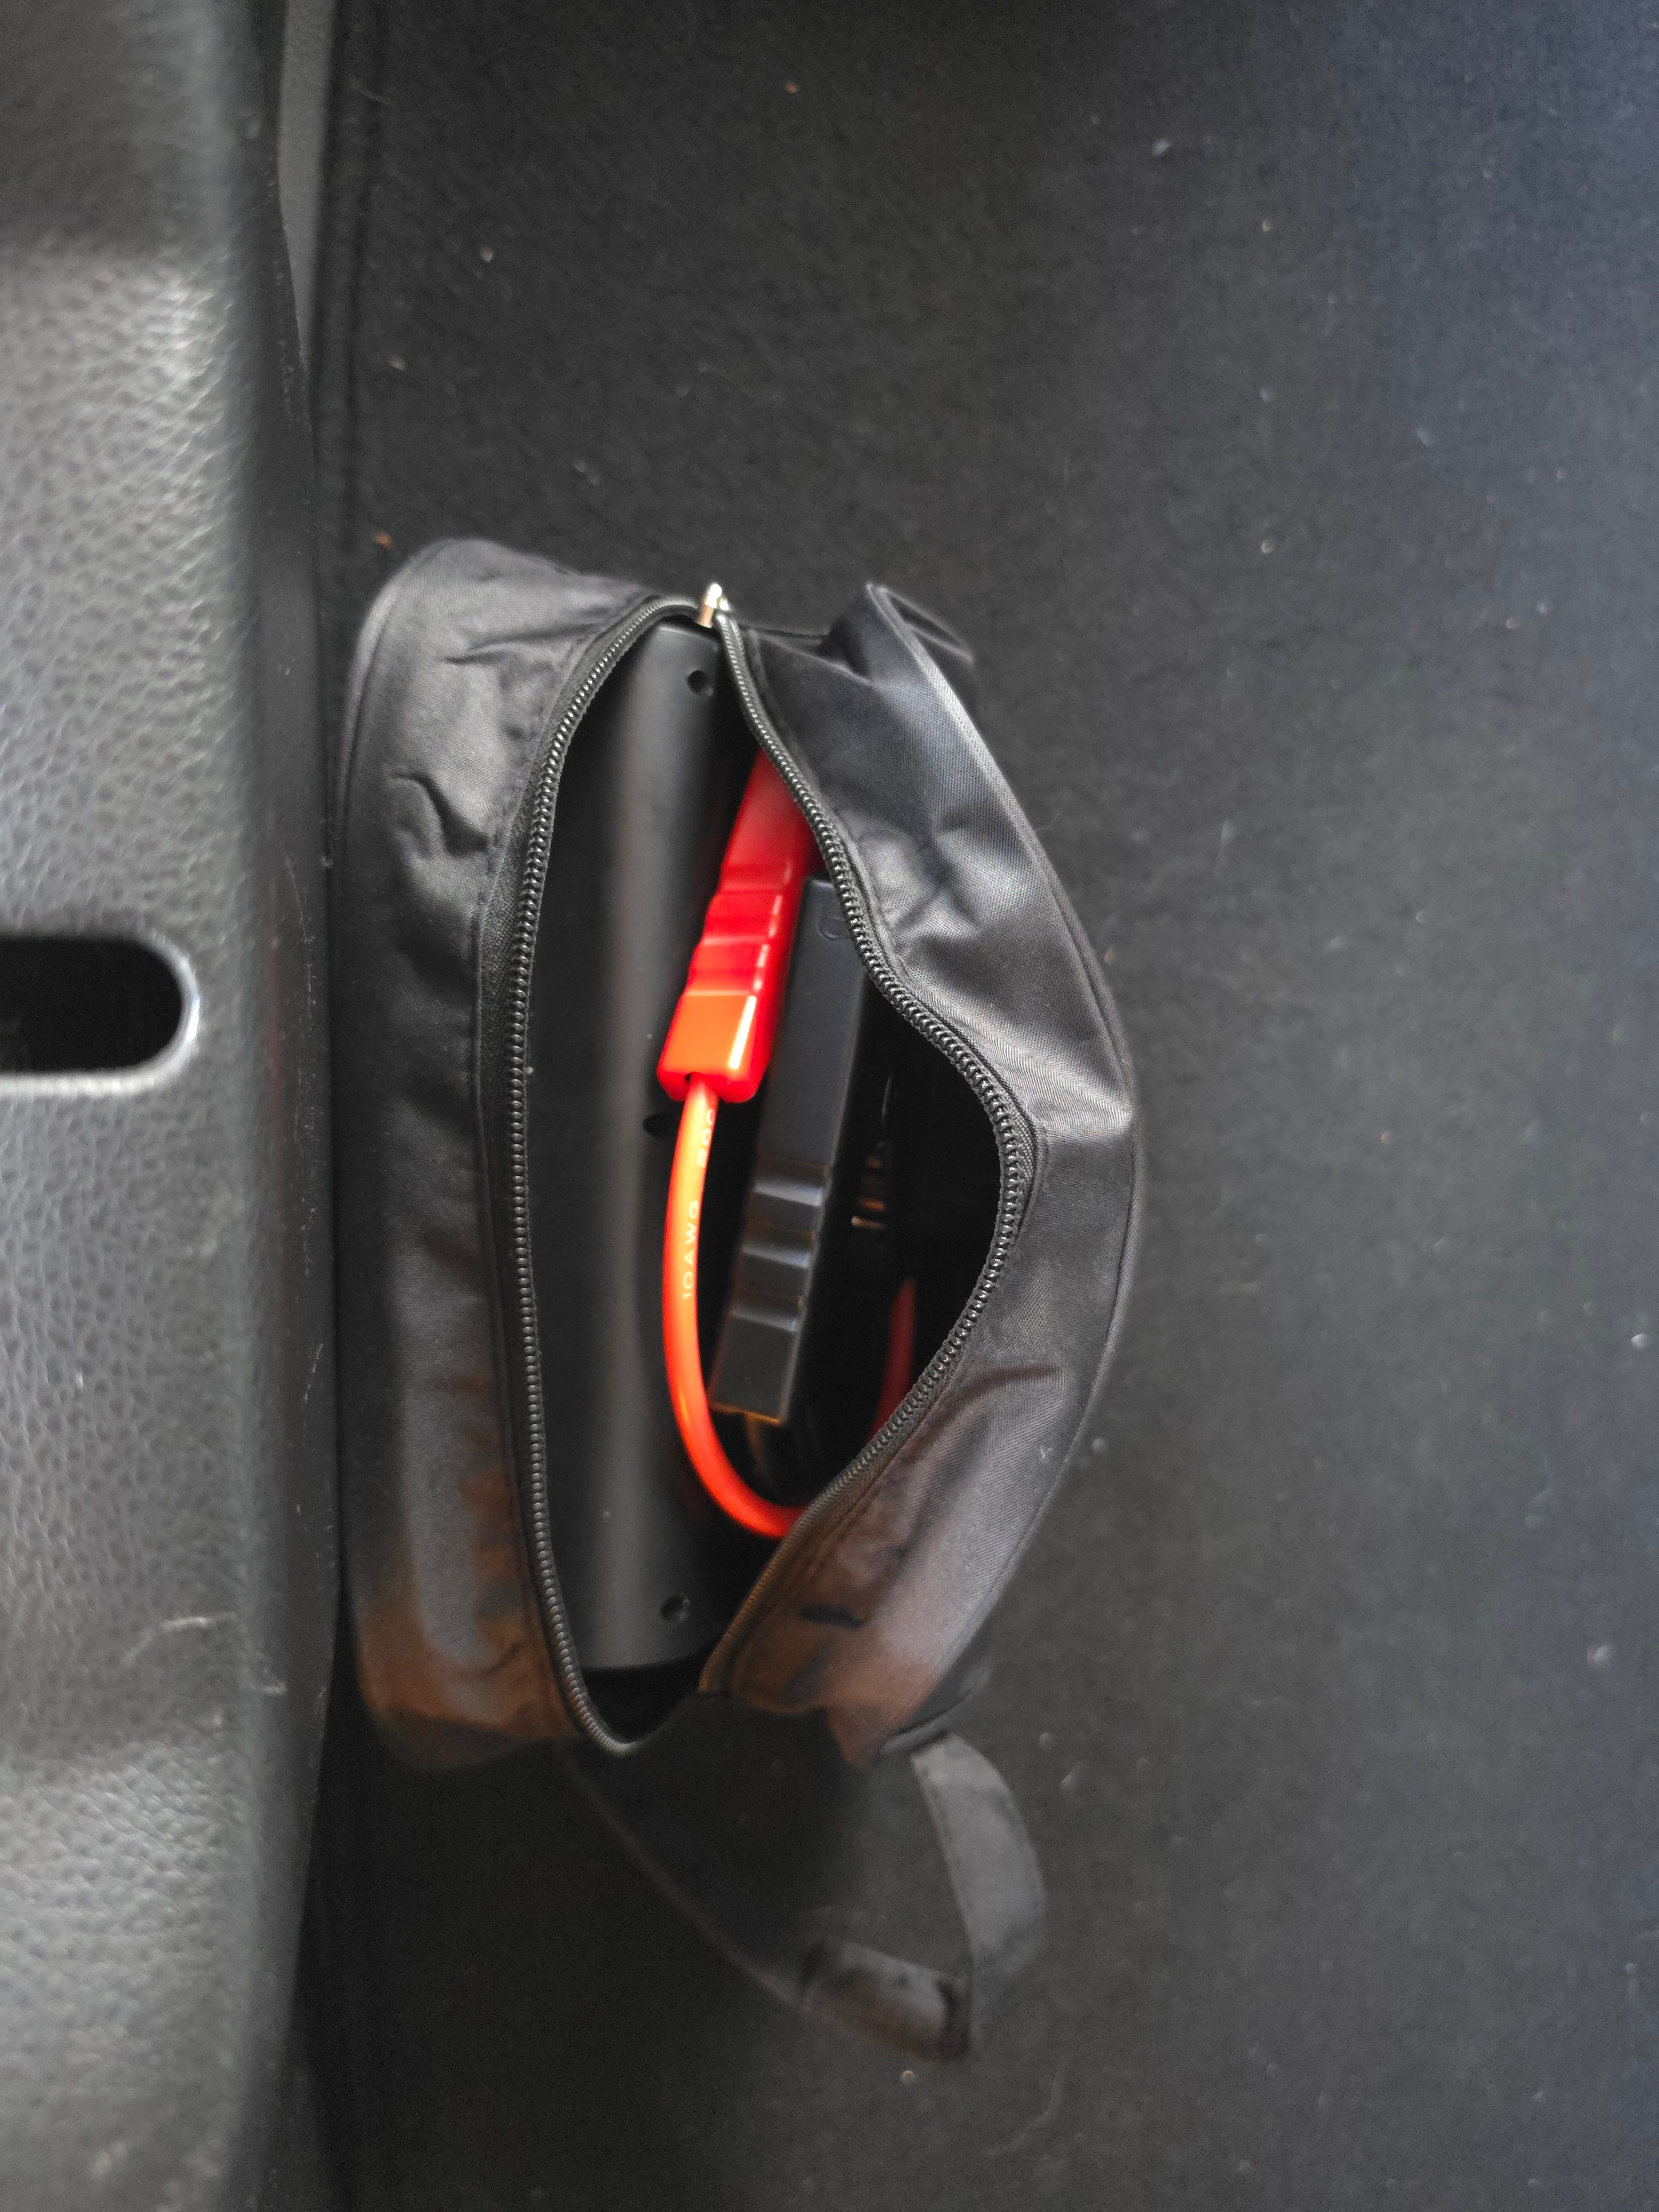
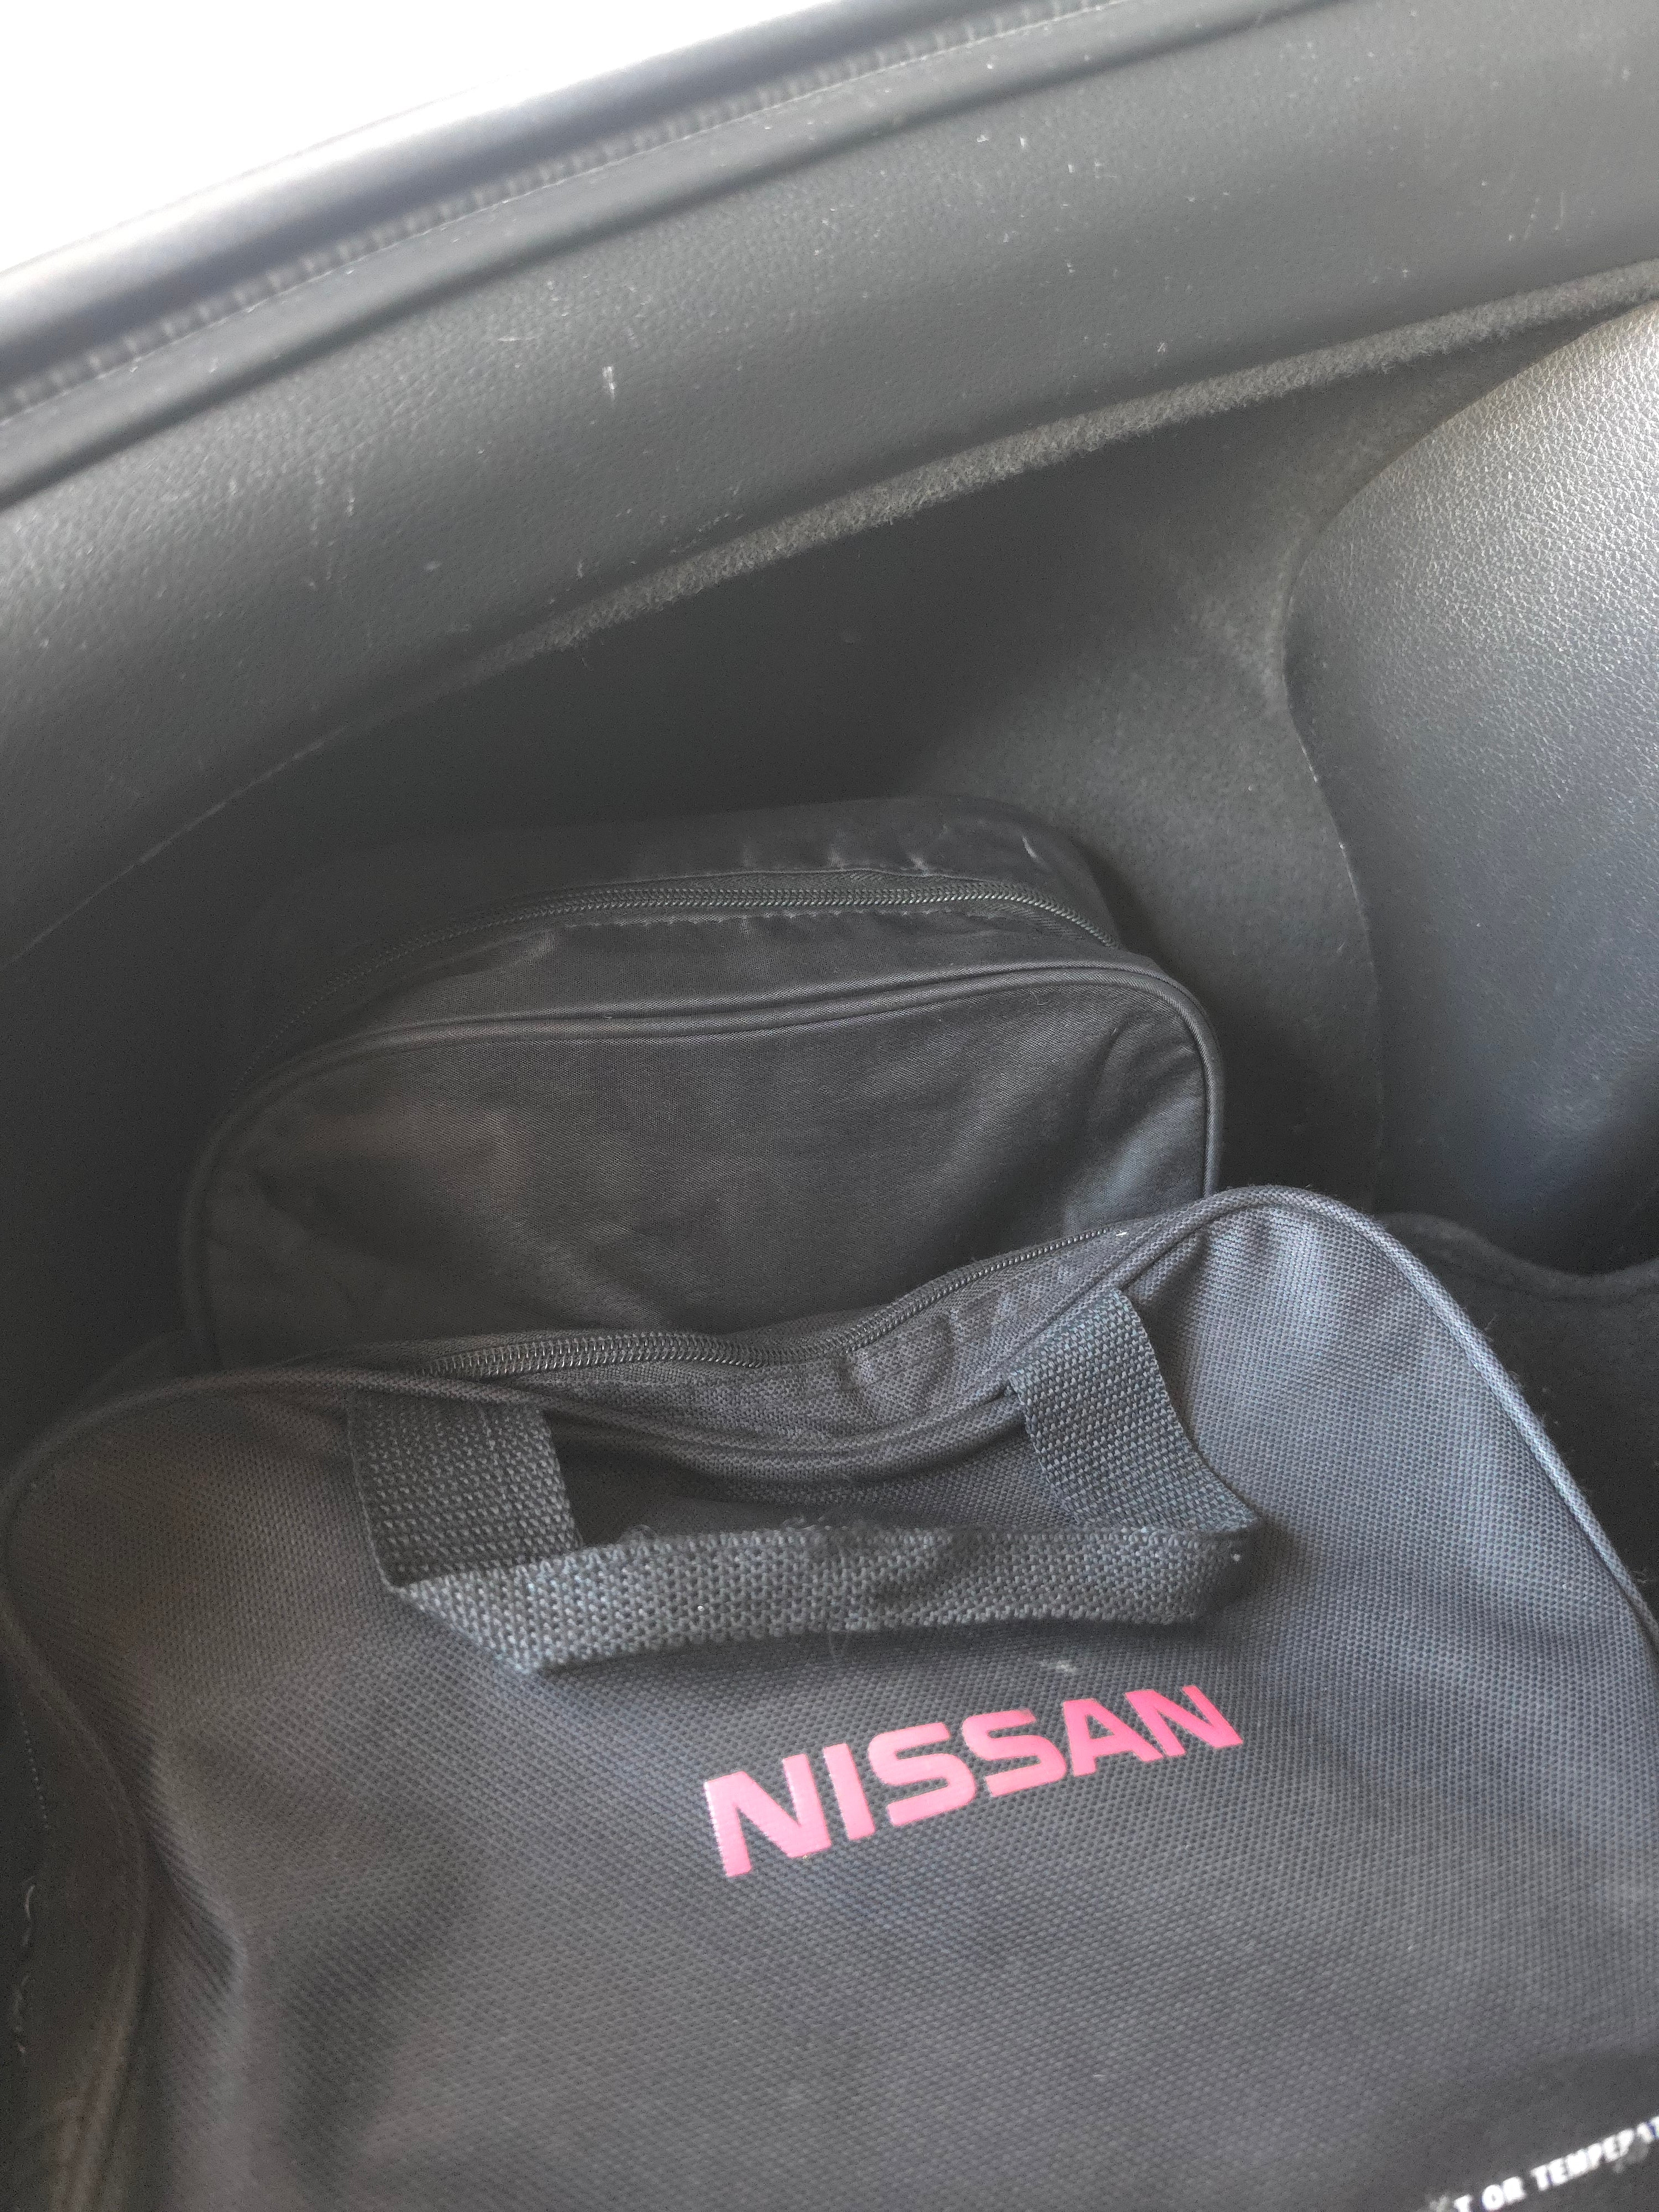
Keep Pompie dry, protect it from unnecessary impact, allow hot inflator metal parts to cool before packing away, and make sure Pompie has sufficient charge before relying on it for a trip.
TROUBLESHOOTING
Something not behaving as expected?
These checks are based only on verified Pompie behaviour.
The jumper attachment shows a flashing red LED
Check the clamp polarity and all connections. Before Pompie is connected, flashing red indicates the clamps are the wrong way around. After Pompie is connected, flashing red means something is not connected correctly. Do not attempt to start the vehicle until the solid green ready light appears.
The jumper LEDs are alternating rapidly
This occurs while the jumper box checks the connection after it is connected to Pompie. A correct ready state ends with a solid green LED and an audible click.
The inflator stopped by itself
This is normal when the selected target pressure has been reached. Pompie automatically stops at the selected target.
The inflator connector is extremely hot
The metal Pompie-side inflation connection and the metal end of the hose can become extremely hot during use. Handle the hose by the orange silicone-protected area and allow the metal parts to cool before touching or packing them away.
The power bank switched itself off
If power-bank mode is active with nothing connected, Pompie exits the mode automatically after a period of inactivity.
Pompie is not charging from the 12V car charger
Confirm the vehicle is on or running, the charger is connected to the vehicle socket and Pompie’s DC port, and the red LED on the car charger plug is lit. Then short-press Pompie’s light button once to begin charging.
24/7 DIGITAL SUPPORT
OPEN ROADSIDE AI →Pompie Roadside AI
Digital guidance for Pompie setup, troubleshooting and common roadside situations during your access period.