
Pompie’s jump-start function is intended primarily for motorcycles and small-capacity four-cylinder 12V engines. Larger engines may sometimes start where the battery still retains some charge, but this is outside the primary intended use and is not guaranteed. Pompie is not for 24V systems or large commercial vehicles.
QUICK START
Get familiar before
Get familiar before
you need it.
A short visual guide to charging, jump starting, inflation, lighting and USB power. For deeper detail, safety information and troubleshooting, use the full manual.
OPEN FULL MANUAL →BEFORE YOU START
Three things worth knowing.
Before using Pompie for the first time, charge it for at least 4 hours. The battery icon fills while charging and shows a solid full battery when fully charged.
Jump starting, inflation, lighting and USB power use different controls and connections. Follow the steps for the function you are using.
GET READY
Charging Pompie
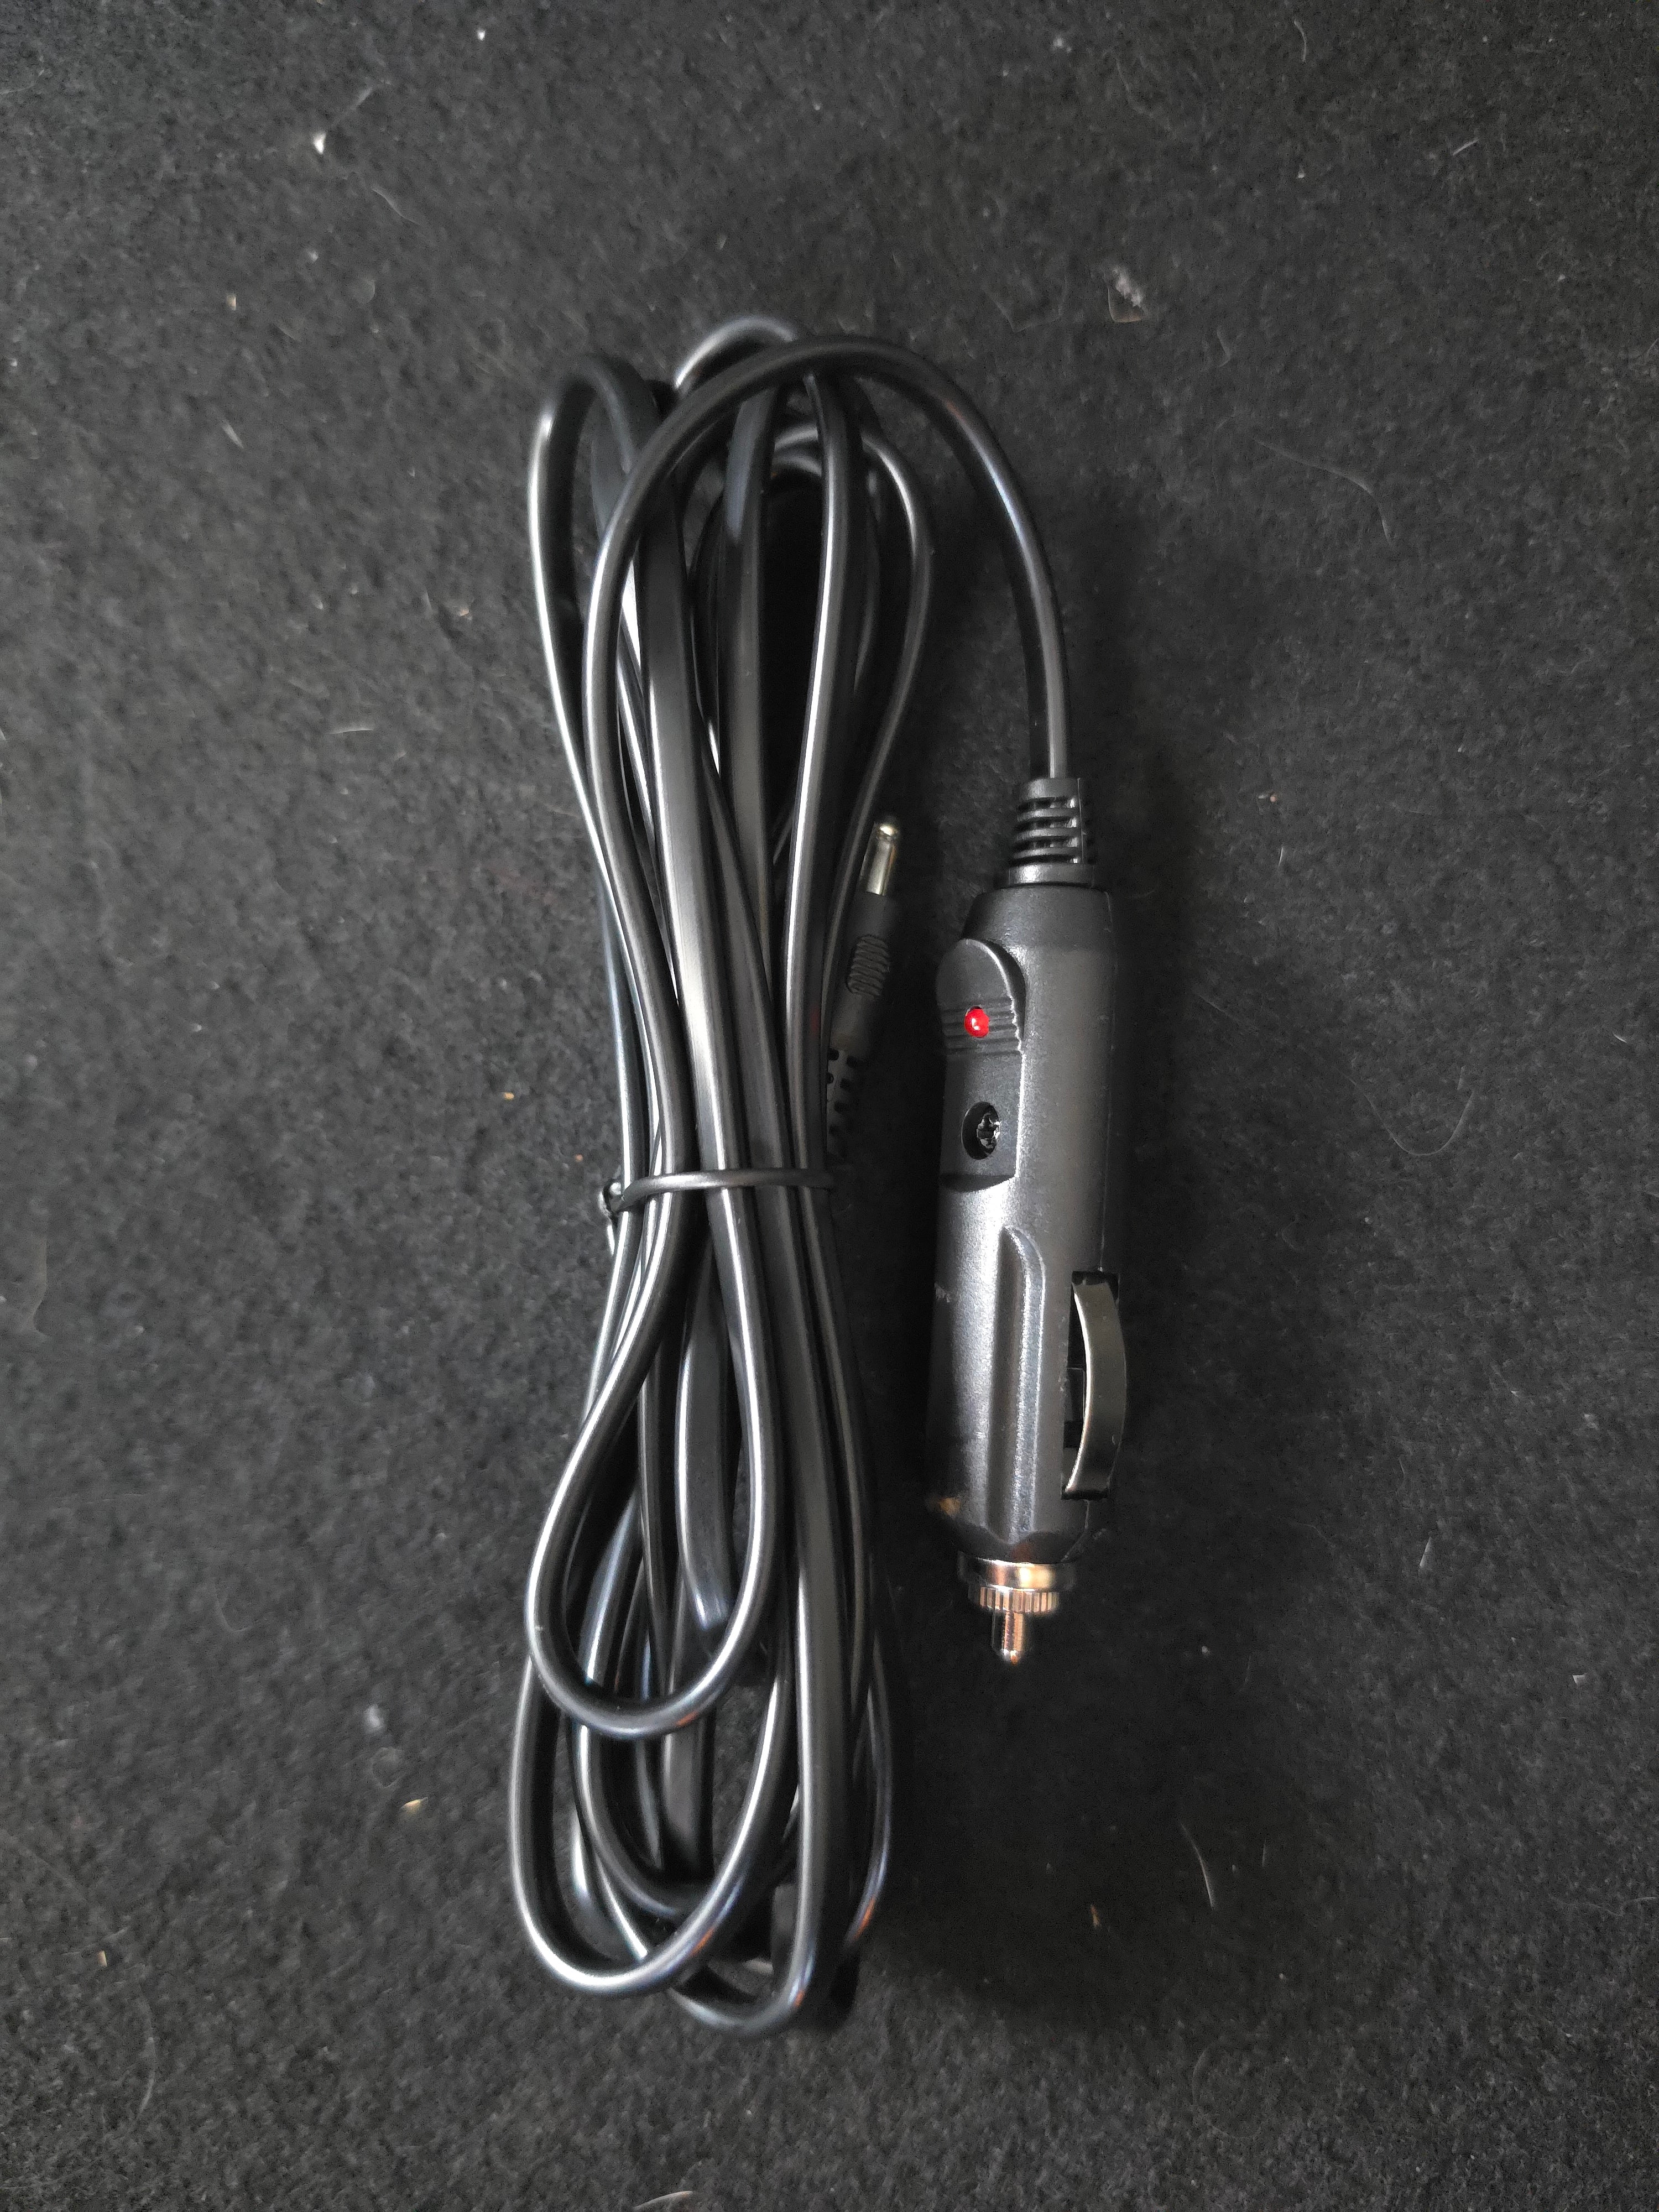
Two charging methods are supplied: USB-C and the 12V car charger.

USB-C CHARGING
Charge from USB power
- Connect the USB-C end of the supplied cable to Pompie’s USB-C charging port.
- Connect the USB-A end to a computer USB port, USB wall socket or USB-A charging block.
- The battery icon fills while charging. A solid full battery means Pompie is fully charged.
12V CAR CHARGER
Charge from the vehicle
- The vehicle must be on or running.
- Plug the car charger into the vehicle’s 12V/cigarette-lighter socket and connect the other end to Pompie’s DC charging port.
- Short-press Pompie’s light button once to begin charging.
- The red LED on the car charger plug lights when the vehicle-side connection is successful.
Disconnection order does not matter.
DEAD 12V BATTERY
Jump starting
Connect in the order shown. Only attempt to start the vehicle once the jumper box shows a solid green LED. For a fully discharged battery, the intended use is motorcycles and small-capacity four-cylinder 12V engines.
- Connect the black negative (-) clamp first.
- Connect the red positive (+) clamp second.
- Connect the jumper attachment to Pompie last.
- A correct ready state is a solid green LED on the inline jumper box, together with an audible click.
- Start the vehicle.
- Disconnect in reverse order: Pompie first, red positive second, black negative last.
Connection check: flashing red means the connection needs attention. Do not attempt to start the vehicle until the solid green ready light is showing.
LOW TYRE
Inflating a tyre
Use the pressure recommended by the vehicle or tyre manufacturer. Pompie has been tested to 4 bar without issue; that is not a recommended tyre pressure.
- Remove the tyre valve cap and clamp the hose onto the tyre valve.
- Screw the orange-protected end of the hose into Pompie’s inflation port.
- Long-press the centre power button to switch Pompie on.
- Use the bottom mode button to choose the required mode. When Pompie is on, short-press the top light button to cycle the pressure unit.
- The upper number shows the tyre’s current pressure. Use + / − to set the target pressure shown below.
- Short-press the centre button once to start inflation. Short-press again to stop manually, or let Pompie stop automatically when the selected target pressure is reached.
HOT SURFACE: the metal inflation connection becomes extremely hot during use. Handle the hose by the orange silicone-protected area and allow the metal parts to cool before touching or packing them away.
ROADSIDE DARKNESS
Emergency light
The flashlight has three modes: steady, slow flash and fast flash.
- With Pompie switched off, press and hold the light button to turn the flashlight on.
- Short-press the light button to cycle: steady → slow flash → fast flash.
- Press and hold the light button again to switch the flashlight off.
DYING PHONE
Using the power bank
The USB-A port supplies power to a compatible phone or USB device.

POWER-BANK MODE
Turn USB power on
- With Pompie switched off, short-press the light button once to enter power-bank mode.
- Connect the USB-A end of a suitable cable to Pompie’s USB-A output and connect your device.
- Short-press the light button again to exit power-bank mode.
The phone may be connected before or after activating power-bank mode. If nothing is connected, Pompie will exit power-bank mode automatically after a period of inactivity.
SUPPLIED CABLE
For compatible USB-C devices
The supplied USB-A to USB-C cable can be used with Pompie’s USB-A output to charge a compatible USB-C phone or device.
NEED MORE DETAIL?
OPEN USER MANUAL →The full manual goes deeper.
Controls, ports, accessories, LED meanings, safety notes, storage and verified troubleshooting are covered in the full manual.